Dairy-Free Pickle Eggnog

Happy Holidays! As a lactose-intolerant person, I rarely get to drink eggnog. This one is for all my fellow lactose-intolerant homies. I loosely based this on a recipe by Alton Brown.

Here’s what you’ll need:

  • 4 Egg Yolks
  • 4 Egg Whites
  • 1/3 Cup of Sugar
  • 2 and 1/2 Cups of Oat Milk or Milk Substitute
  • 1 Cup of Silken Tofu
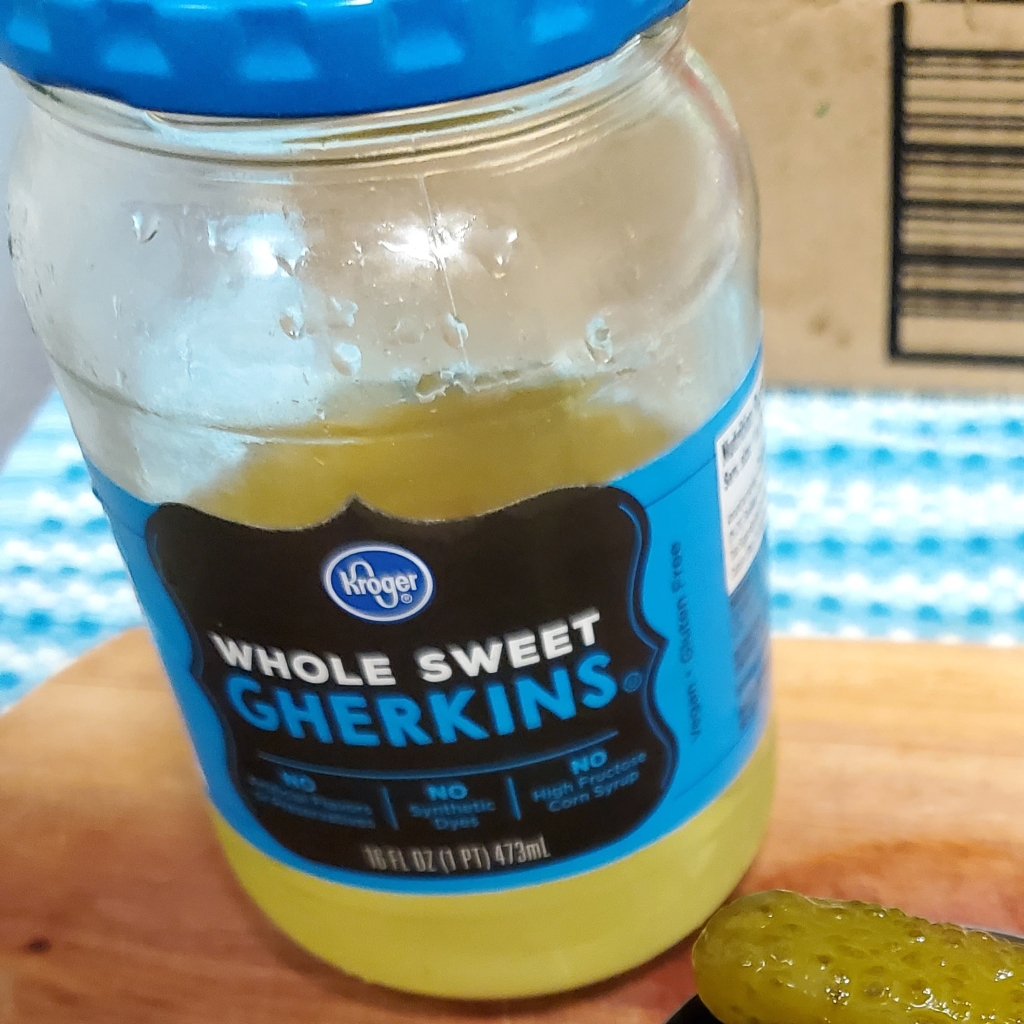
  • 1/2 Cup of Sweet Pickles
  • 1/2 Cup of Pickle Juice
  • 1 Teaspoon of Nutmeg
  • 1 Tablespoon of Vanilla Extract

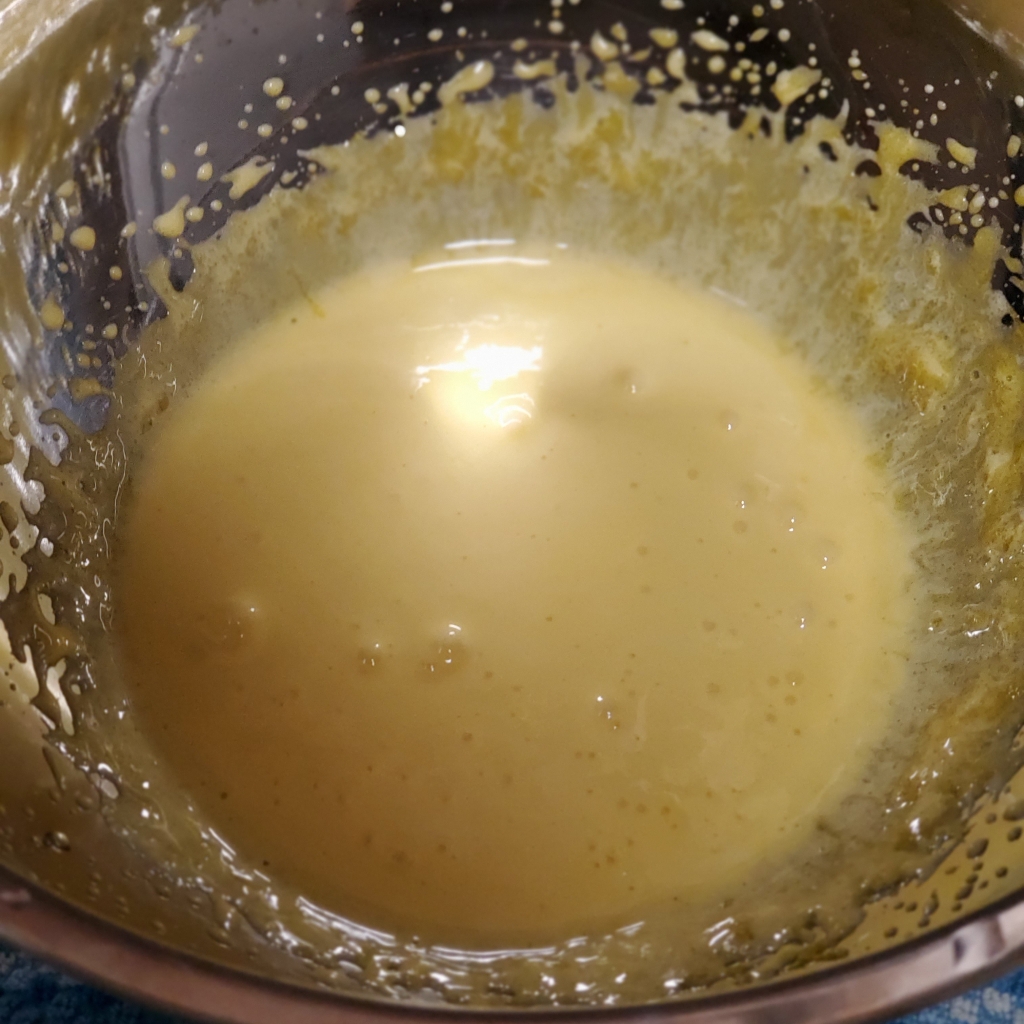
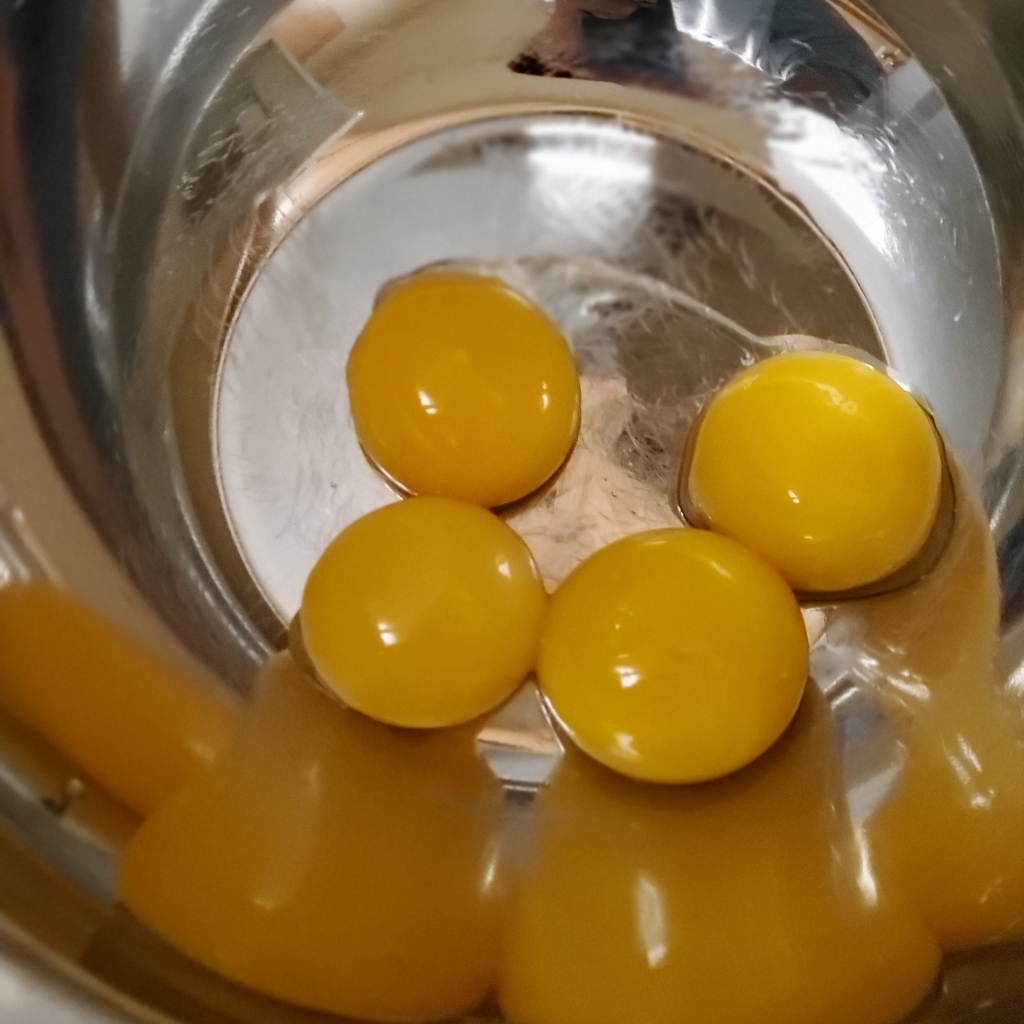
In a large bowl or stand mixer, beat eggs and sugar until the sugar is dissolved.
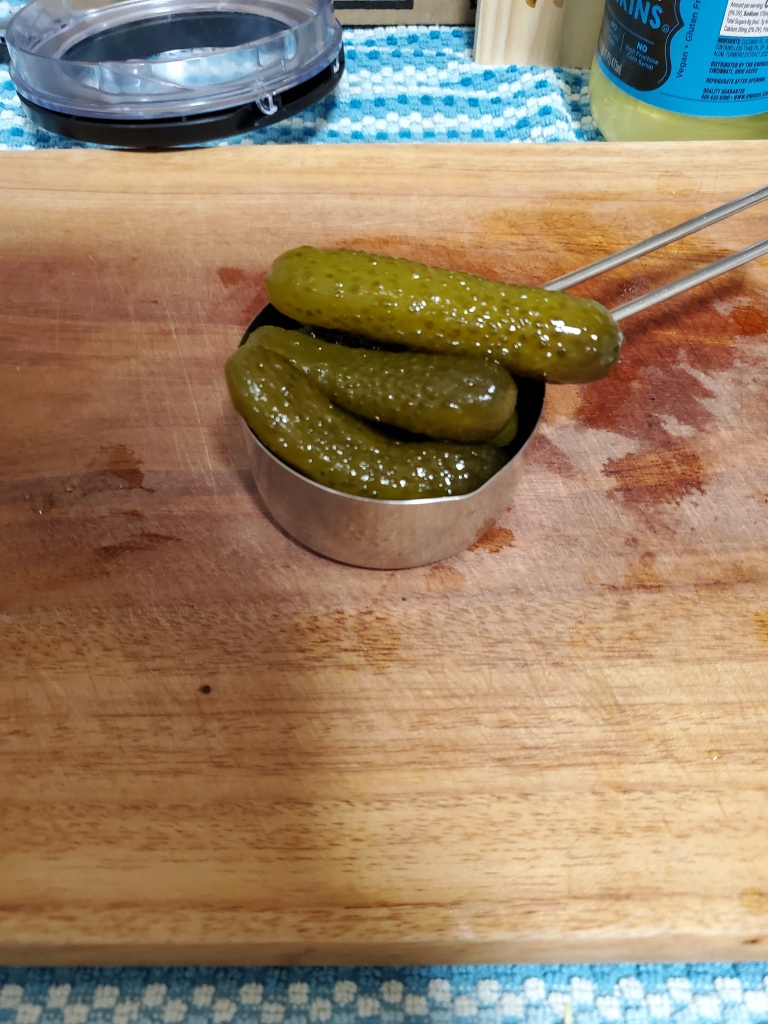
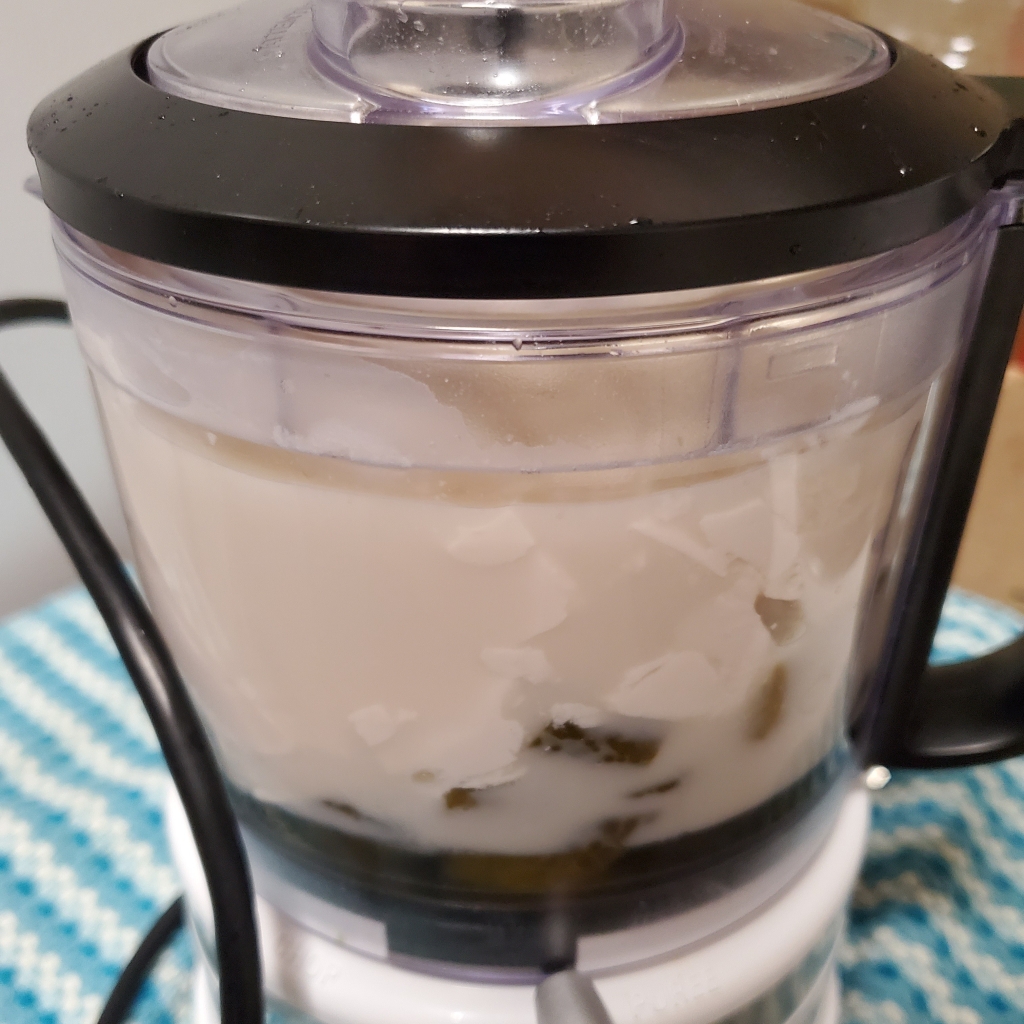
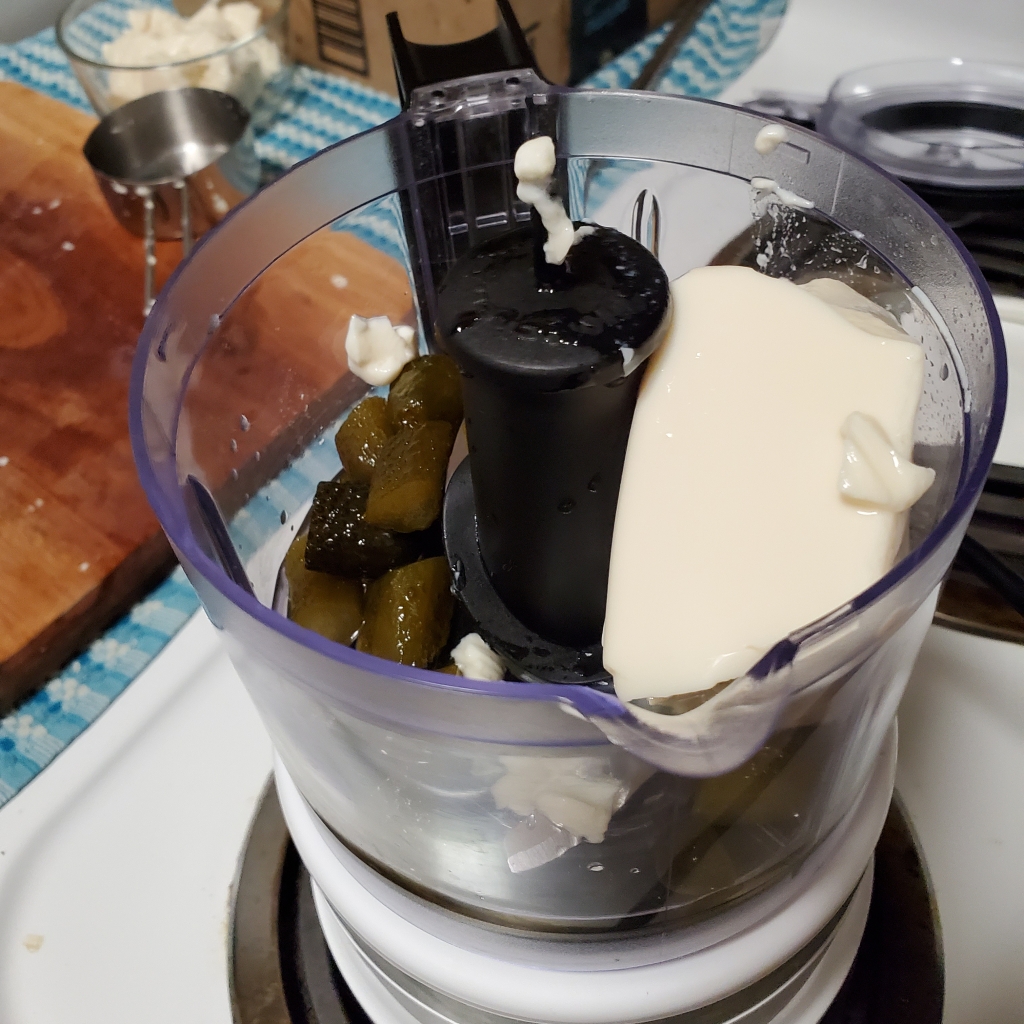
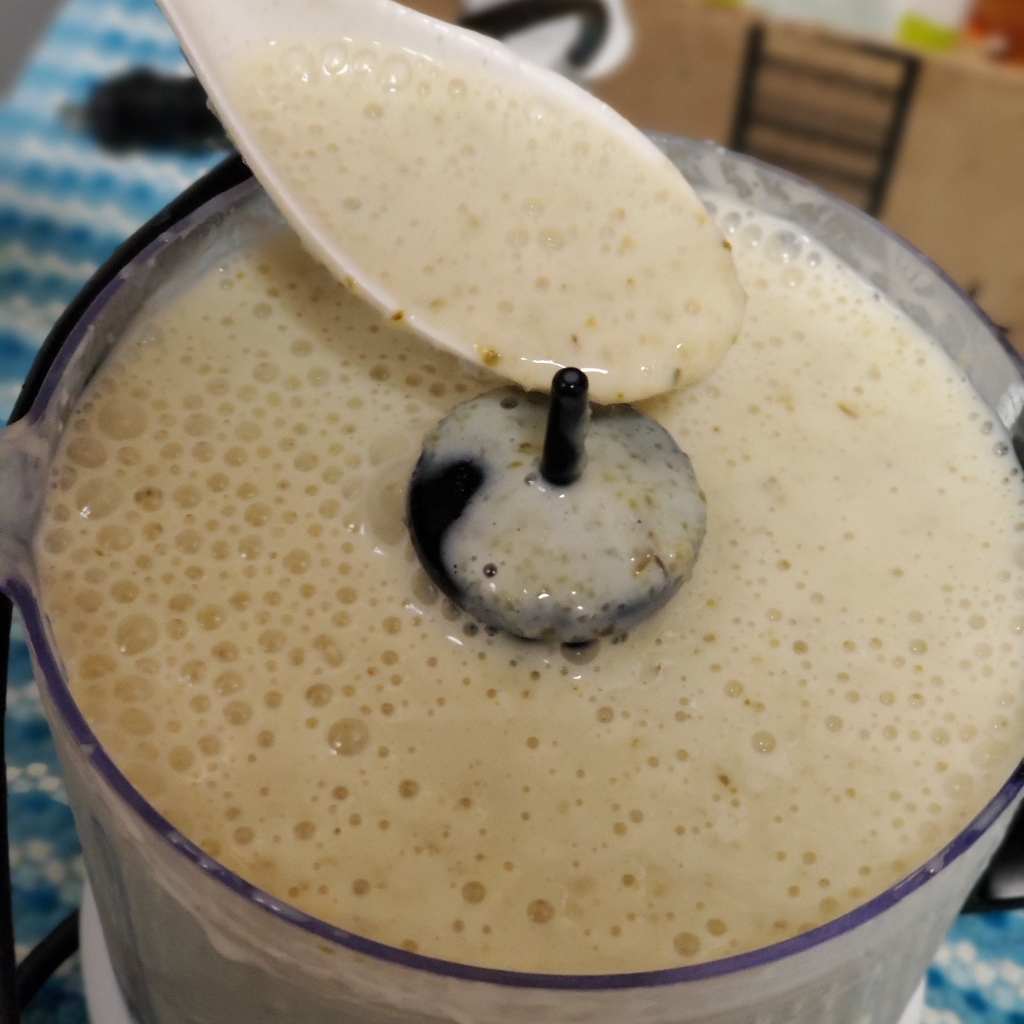
Chop pickles into small pieces and add to food processor. Add pickle juice, silken tofu and 1/2 cup of oat milk to the food processor. Puree the mixture until there are no visible pickle chunks.

Combine and stir the pickle tofu mixture, 2 cups of oat milk, vanilla extract, nutmeg and beaten egg mixture.
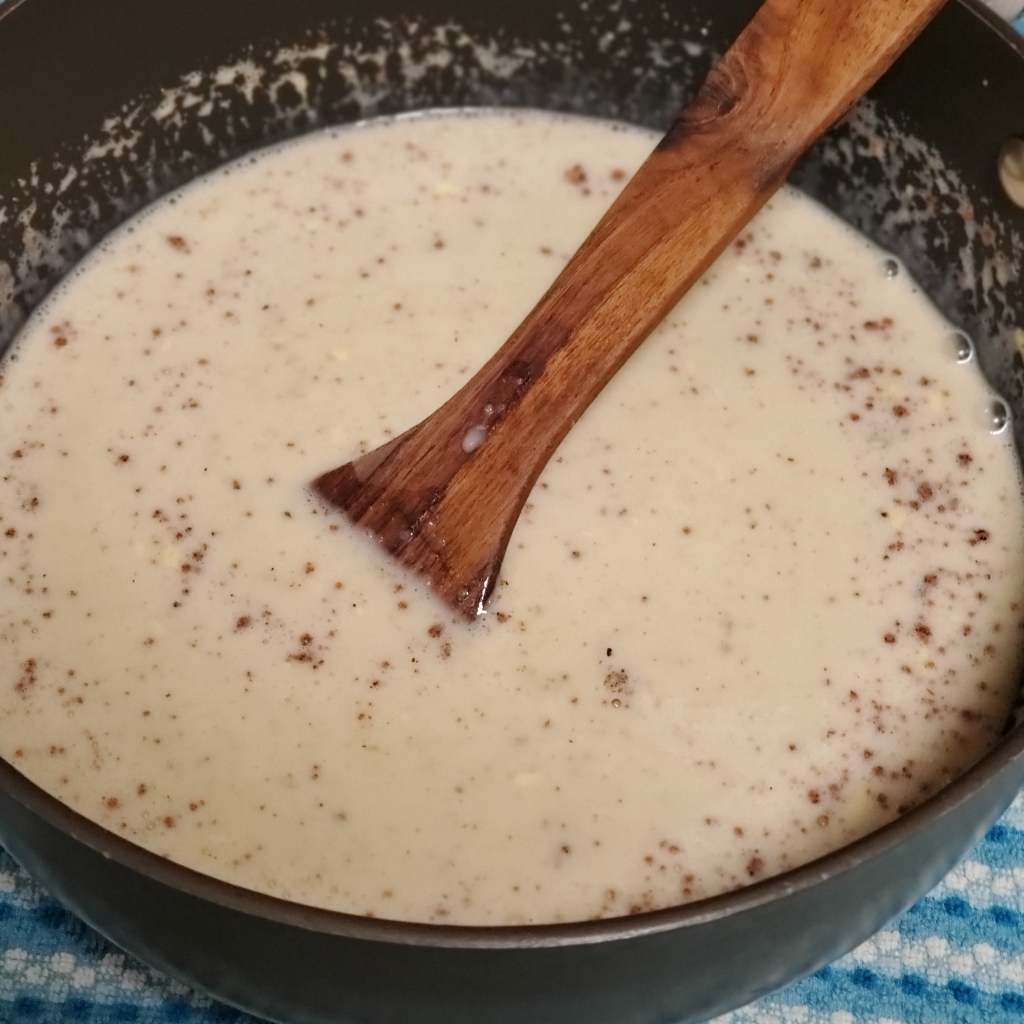
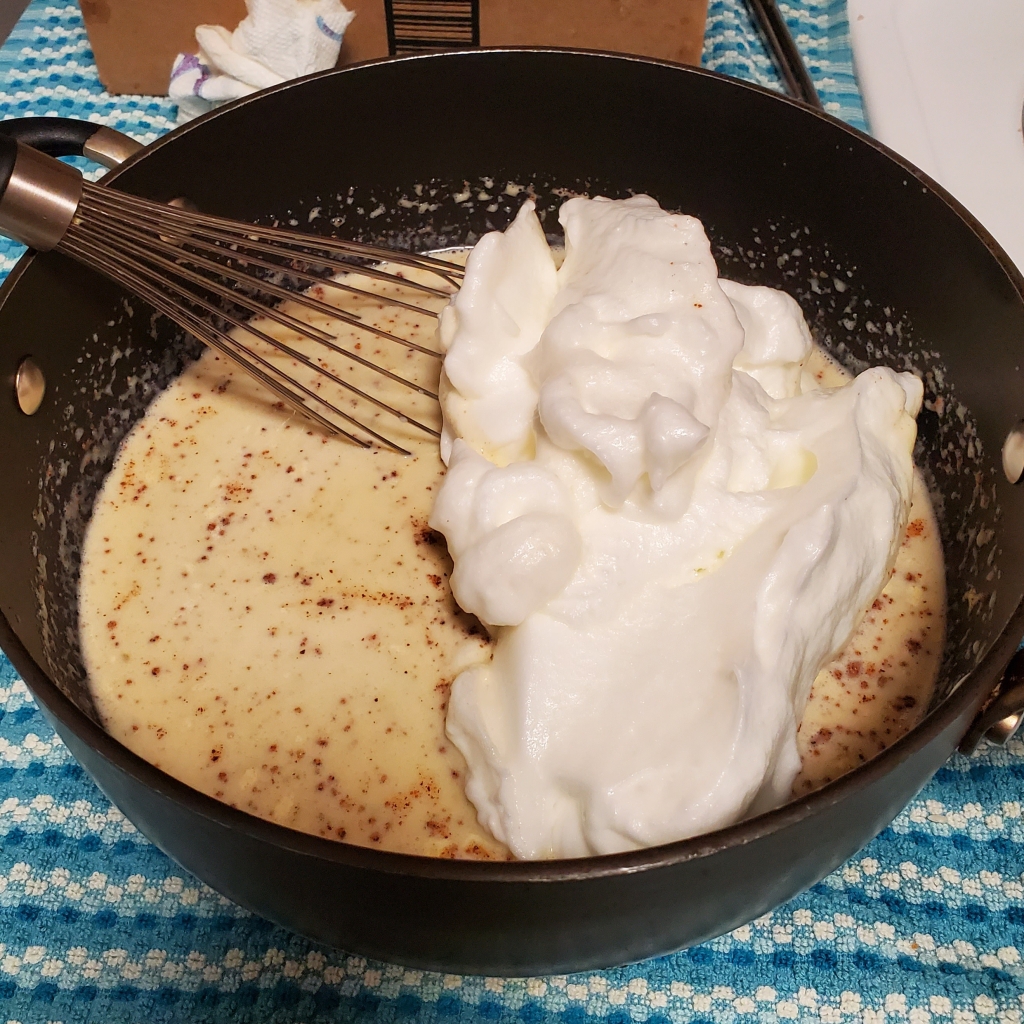
A little too much nutmeg

Beat egg whites while gradually adding in 1 tablespoon of sugar. Continue beating until it forms stiff peaks. Whisk in the egg whites into the other mixture.
Chill the eggnog in the refrigerator for 30 minutes to an hour.
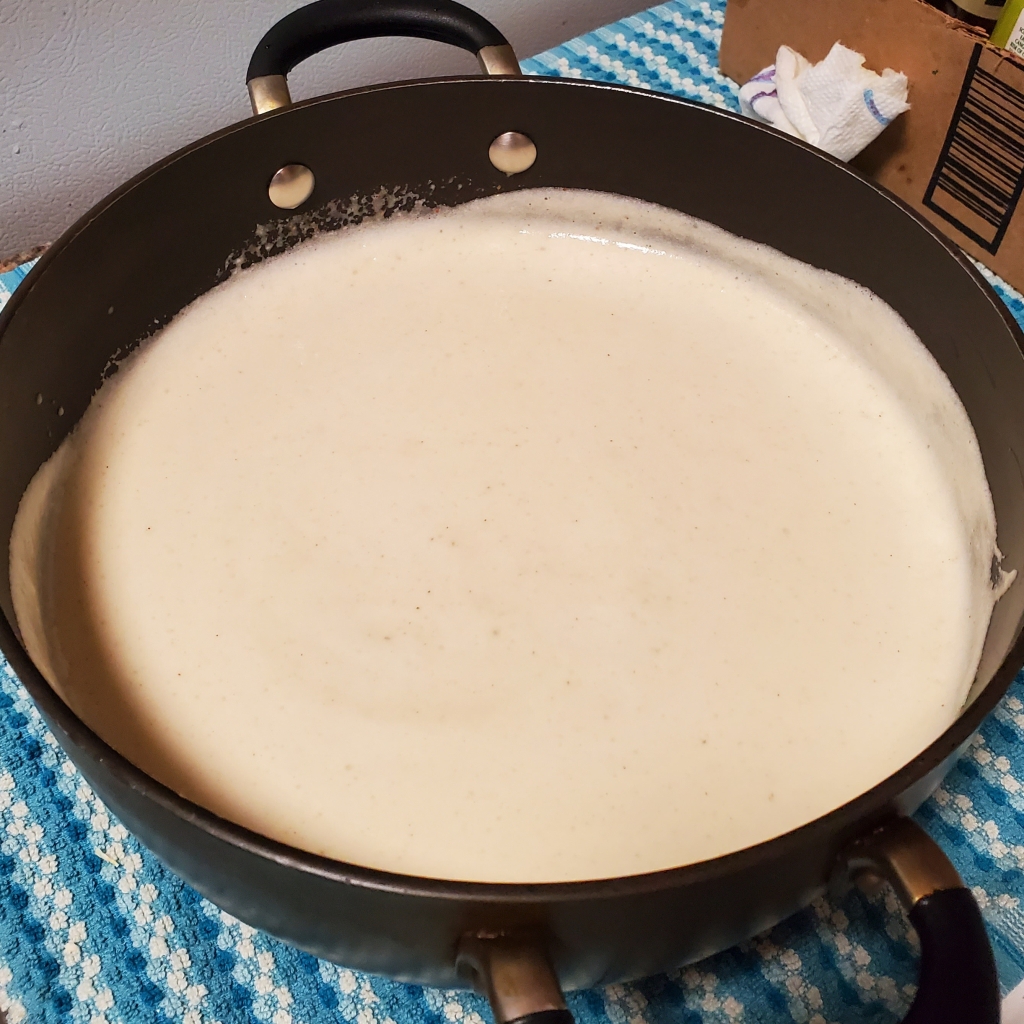
Eggnog (?)
Eggnog (?)

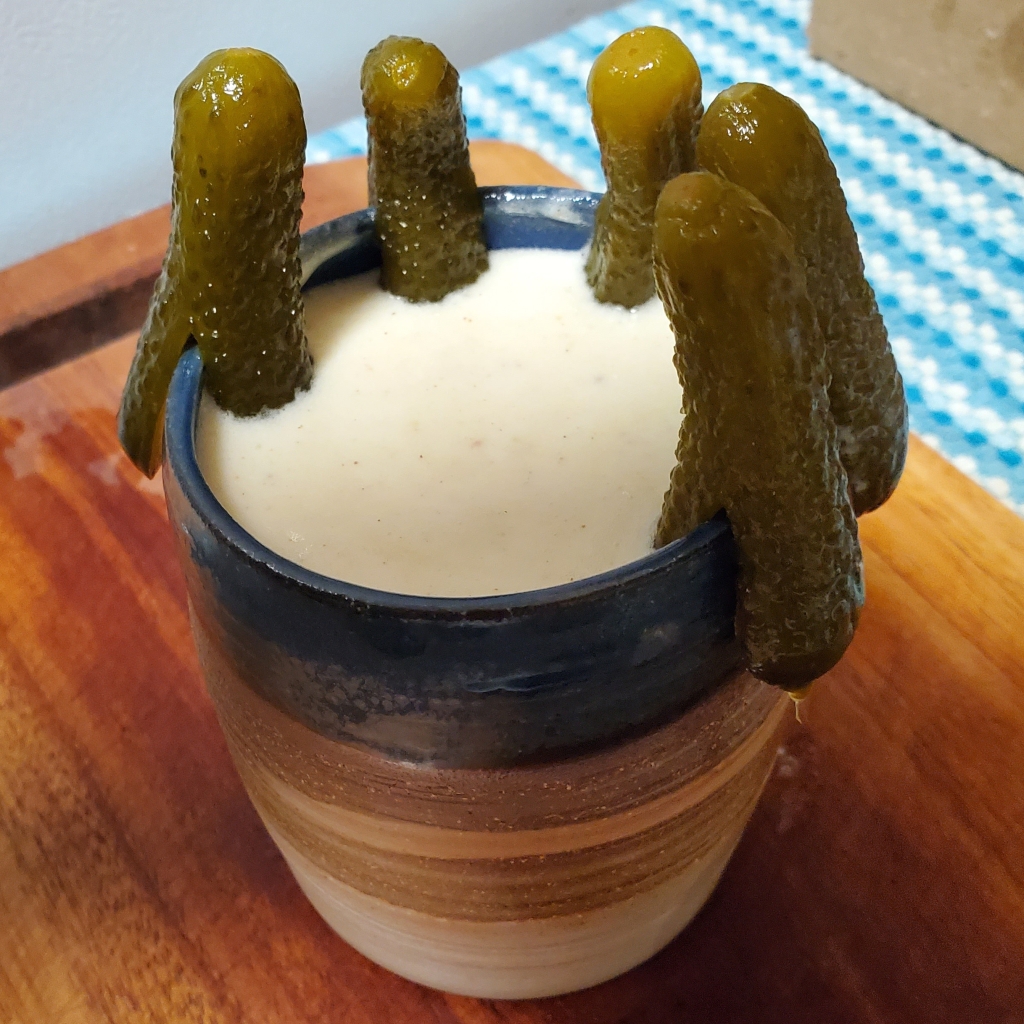
Serve with a selection of pickles.

Served with pickles
Served with pickles

The original eggnog recipe called for 1 cup of heavy cream. Silken tofu combined with milk works as a heavy cream substitute.

Sadly, you could not taste the pickles in the eggnog. It just tastes like regular eggnog. I have to rate this at 8/10 as it tastes perfectly normal and delicious. You definitely want to drink it all as soon as possible. The eggnog had separated the next day and was nowhere near as good!

One possible improvement is to remove the pickles. Their flavors did not come through in the eggnog and can likely be omitted from the recipe. I’m curious about adding cayenne pepper to the mixture and would like to try it next time.

I’ve only recently discovered the joys of pickles, so I want to incorporate them somehow in a recipe. At the same time, Christmas was coming up, so I wanted to do something Christmas themed. It made sense to do both at the same.

Ghost Pepper and Blueberry Soy-Cheesecake

I think I’m onto something here. Take notes everyone.

Here’s what you’ll need:

For the crust:

  • 2 Cups of Graham Cracker Crumbs (Roughly 11 Crackers)
  • 1/4 Cup of Maple Syrup
  • 1/4 Teaspoon of Almond Extract

For the filling:

  • 1 Pound of Firm Tofu
  • 1 Tablespoon of Peanut Butter
  • 1/2 Teaspoon of Salt
  • 1/3 Can of Lemon Flavored White Claw
  • 1/2 Teaspoon of Almond Extract
  • 1/3 Cup of Sugar
  • 1 Tablespoon of Flour Dissolved in 1 Tablespoon of Oat Milk

For the sauce:

  • 3 Tablespoons of Blueberry Ghost Pepper Hot Sauce
  • 3 Tablespoons of Lemon Flavored White Claw
  • 1/3 Cup of Powdered Sugar
  • 1 Tablespoon of Instant Espresso Coffee

Prepare graham cracker crumbs. If using full crackers, put in a Ziploc bag and crush with a rolling pin.

In a large bowl, mix the crumbs, maple syrup and 1/4 teaspoon of almond extract. Continue to mix until all the crumbs are moistened. Firmly press the mixture into a greased pie pan and bake for 5 minutes at 350 degrees Fahrenheit. Allow to cool for at least 10 minutes.

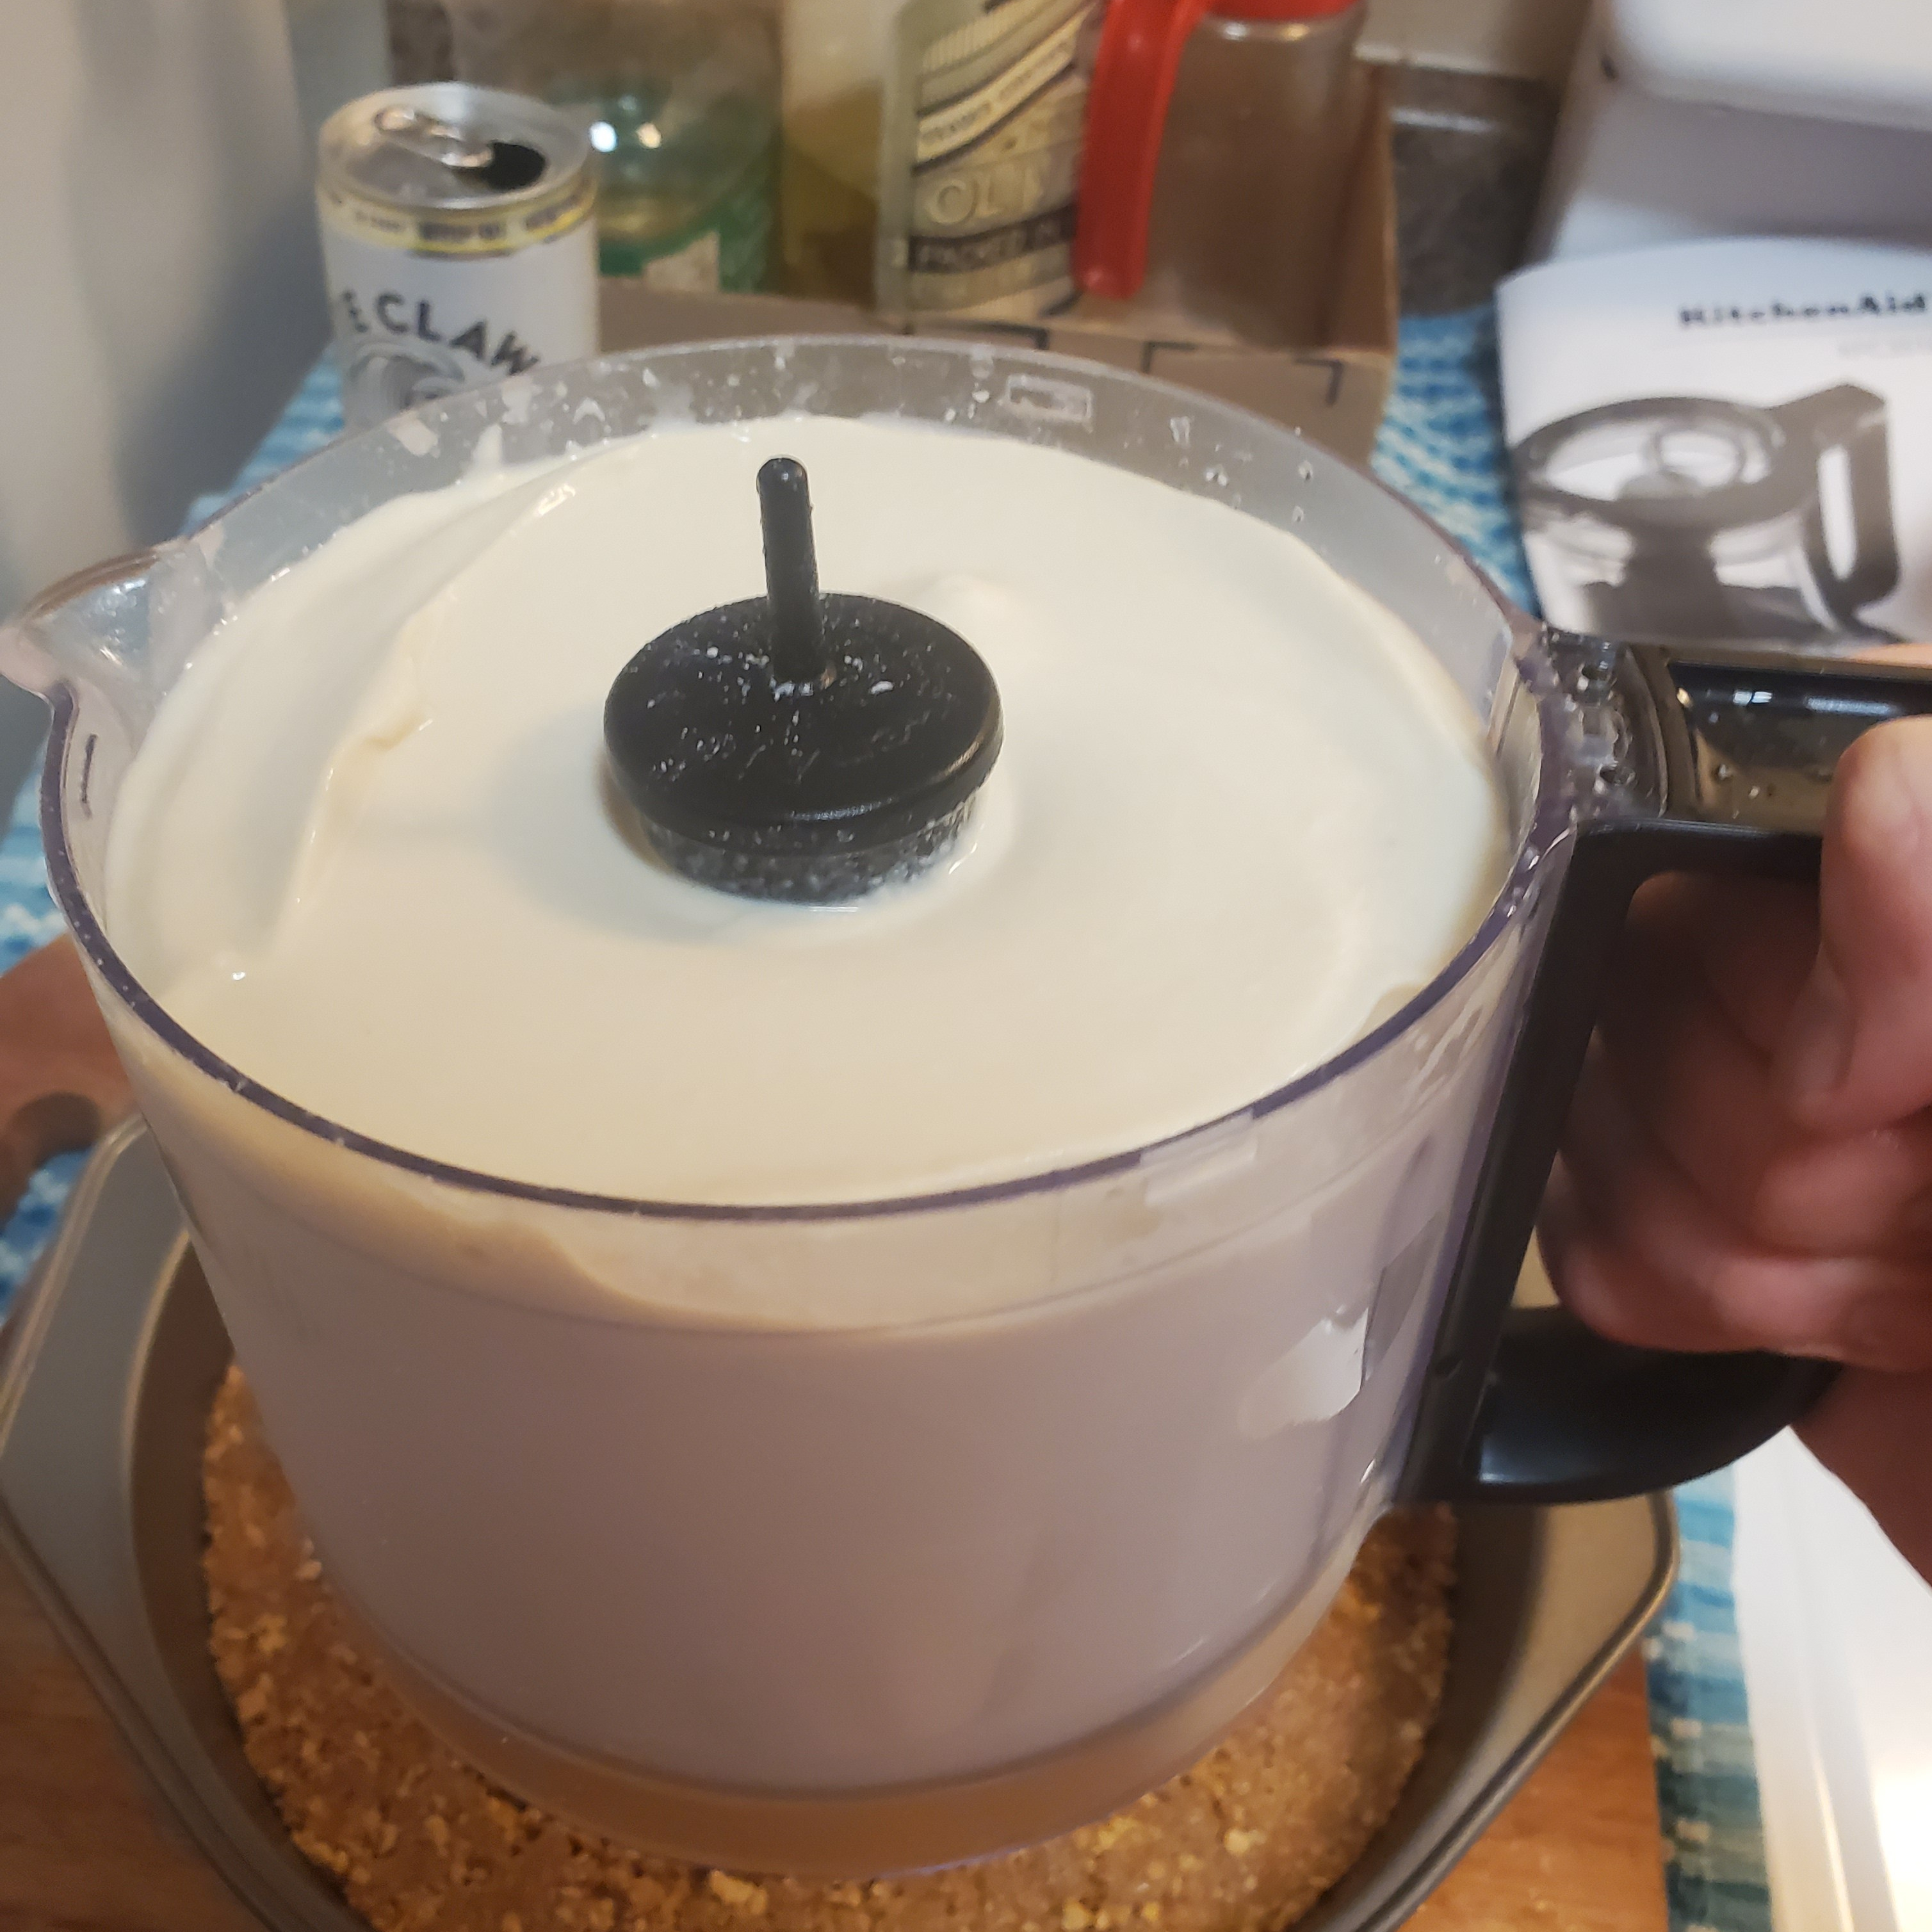
Using a food processor, add all of the ingredients for the filling and puree into a homogeneous mixture.

Cheesecake Filling
Cheesecake Filling

Add ingredients for the sauce into a small pot. Mix continuously as low heat until the sugar and instant coffee are fully dissolved.

Pour the filling over the baked crust. Then, pour the sauce over the filling and mix roughly using a toothpick or fork.

Bake the cheesecake for another 35 minutes at 350 degrees Fahrenheit. Allow to cool for 10 minutes and chill in a refrigerator for at least 2 hours.

I recently bought a bunch of hot sauces from https://heatonist.com/. I didn’t like this sauce with any meat. I heard someone describe the flavor as somewhat tart. Since the sauce is tart, it seemed like a good idea to add it to cheese cake.

Honestly, the cheesecake was good. The peanut butter and tofu filling had a smooth and nutty flavor. It was not particularly overpowering and did well to lower the intensity of the hot sauce. Despite the ingredients added, I think this dessert was well balanced. The only improvement is that I had accidentally used 1/3 cup of maple syrup instead of 1/4. My crust ended up too sticky. However, it was hardly a detriment. All in all, a strong 8/10.

Garlic Bar

It’s like a lemon bar.

Here’s what you will need:

For Shortbread Crust:

  • 1 Cup of Butter at room temperature
  • 1/2 Cup of Sugar
  • 1 and 1/2 Cups of All-Purpose Flour
  • 1/2 Cup of Hot Chocolate Mix

For Custard Filling:

  • 1 Cup of Sugar
  • 1/4 Cup of All-Purpose Flour
  • 250 Grams of Minced Garlic
  • 1/4 Cup of Ginger Ale
  • 4 Eggs

Miscellaneous:

  • Powdered Sugar for Dusting
  • Raw Garlic for Garnish

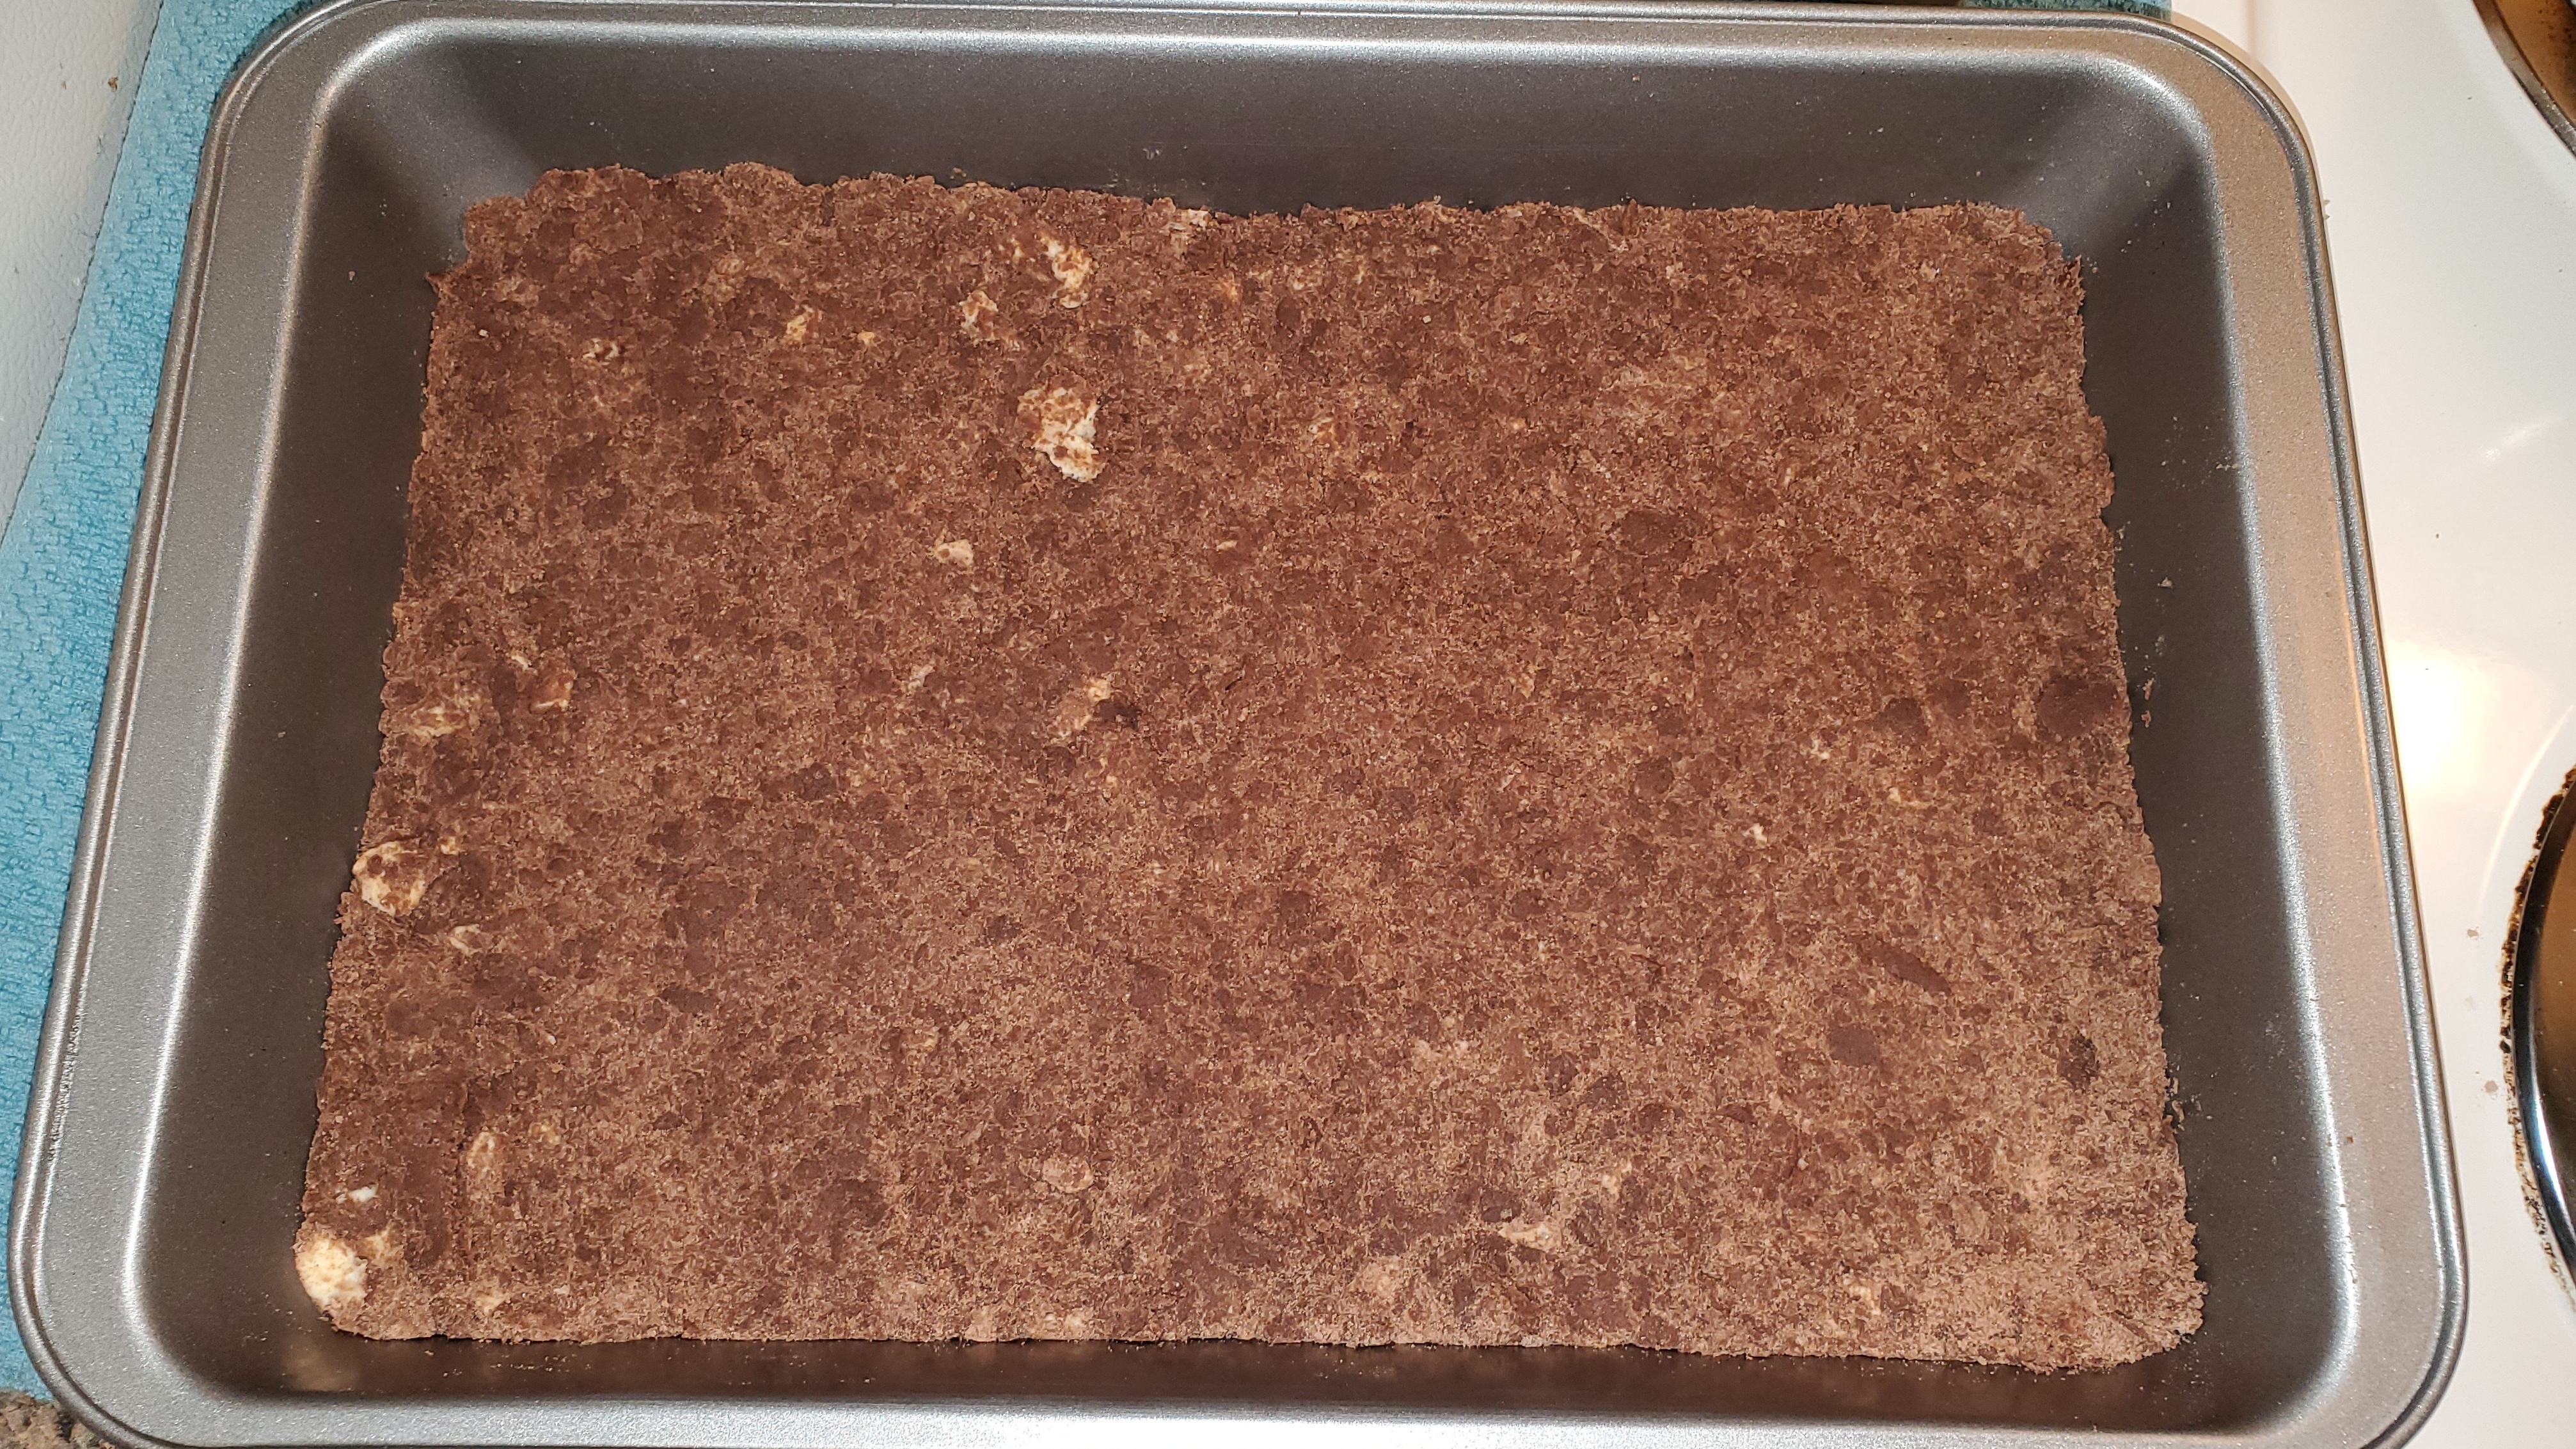
Preheat oven to 350 degrees Fahrenheit. In a large mixing bowl, mix all ingredients for the shortbread crust. Continue to mix until the mixture is coarse and looks like pea-sized balls.

Scrape mixture into an ungreased 9×13 inch pan. Flatten and press the mixture into the pan. Put the pan in the oven and bake for 15-17 minutes.

Press Crust into Pan
Press crust into pan

While the shortbread crust is baking, put 1 cup of sugar and 1/4 cup of flour into a clean mixing bowl. Mix sugar and flour until homogeneous.

Whisk flour and sugar

Whisk in garlic, ginger ale and eggs. Continue to whisk until the homogeneous and bubbly.

Take out the shortbread crust and pour the garlic custard mixture over the crust. Bake again for an additional 20 minutes.

Shortbread crust
Shortbread crust

Allow the garlic bar to cool for at least 20 minutes.

Allow to cool
Allow to cool

Cut the garlic bar into bite-sized pieces and dust with powdered sugar.

9
Dust generously with powdered sugar

Optionally, garnish the garlic bars with sliced raw garlic.

Garnish with raw garlic for extra tang

I honestly liked this. The garlic bar was surprisingly on the sweet side. The raw garlic actually gave the bar a nice sour flavor, similar to lemons. I admit that the flavors may be initially confusing. Yet, I found that I liked it more and more with every bite. I would give this a 9/10 as I can easily see myself snacking on this.