Happy Holidays! As a lactose-intolerant person, I rarely get to drink eggnog. This one is for all my fellow lactose-intolerant homies. I loosely based this on a recipe by Alton Brown.
Here’s what you’ll need:
- 4 Egg Yolks
- 4 Egg Whites
- 1/3 Cup of Sugar
- 2 and 1/2 Cups of Oat Milk or Milk Substitute
- 1 Cup of Silken Tofu
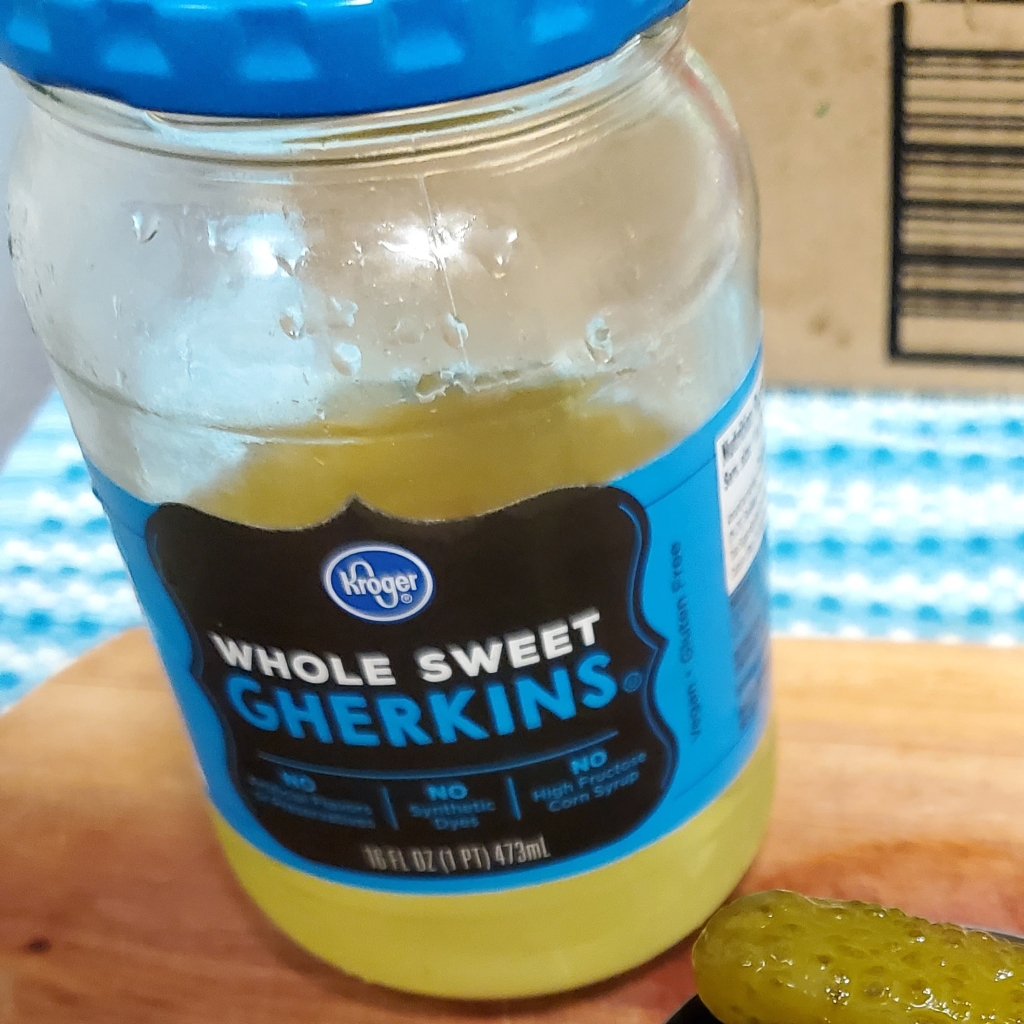
- 1/2 Cup of Sweet Pickles
- 1/2 Cup of Pickle Juice
- 1 Teaspoon of Nutmeg
- 1 Tablespoon of Vanilla Extract
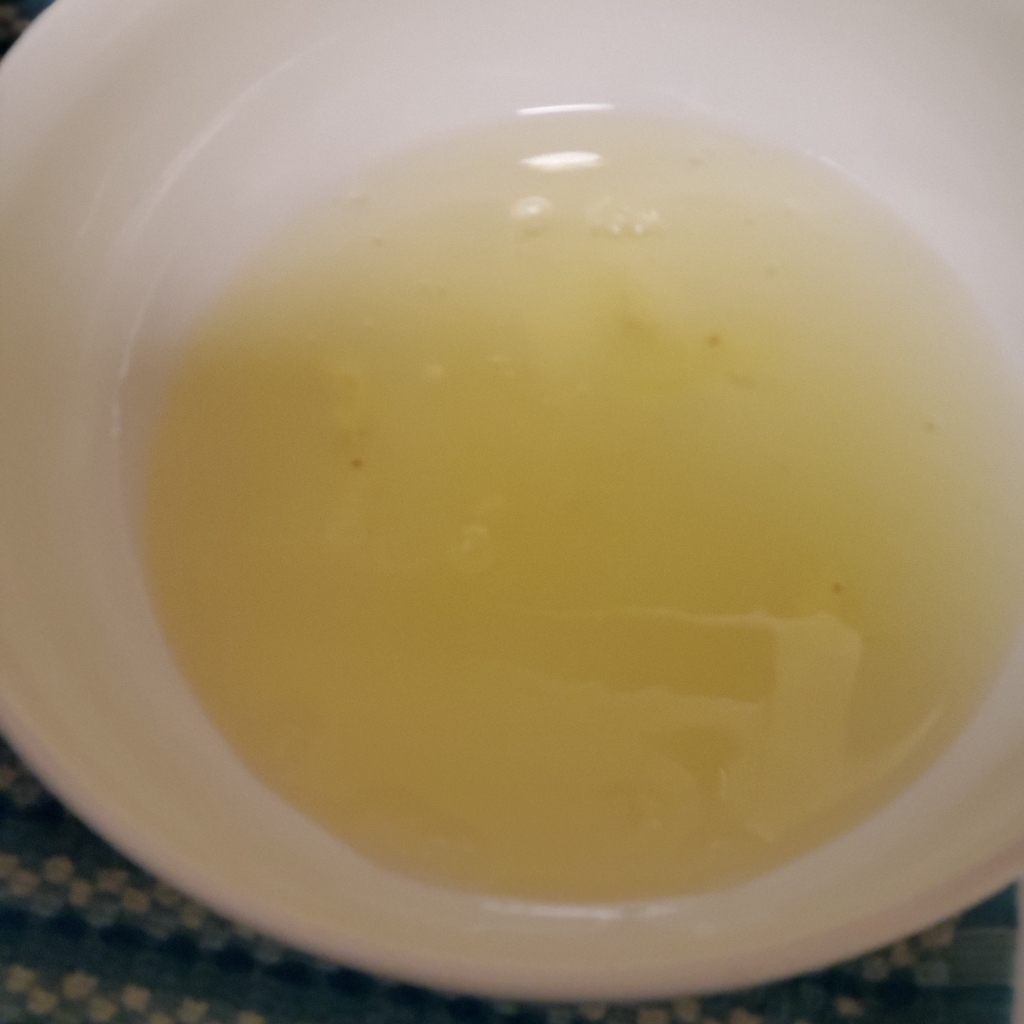
In a large bowl or stand mixer, beat eggs and sugar until the sugar is dissolved.
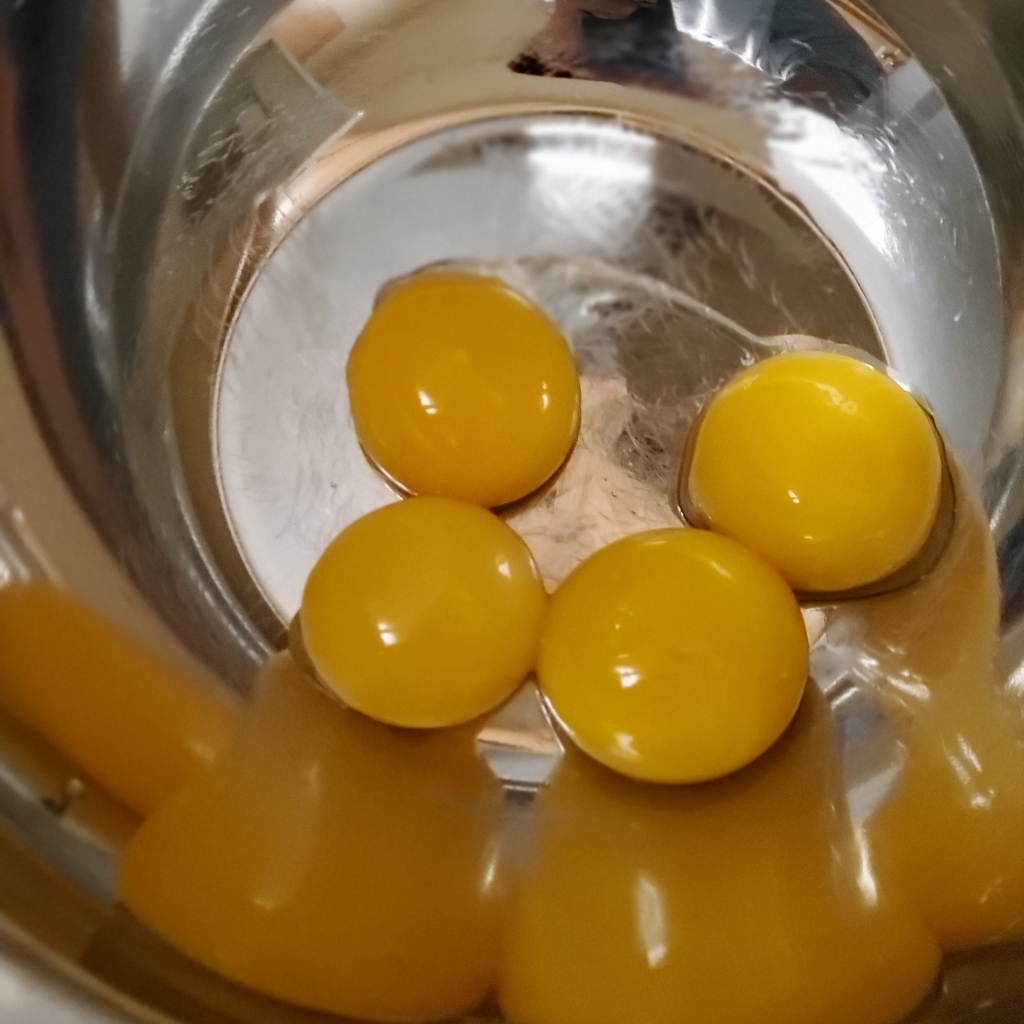
Beat Egg Yolks 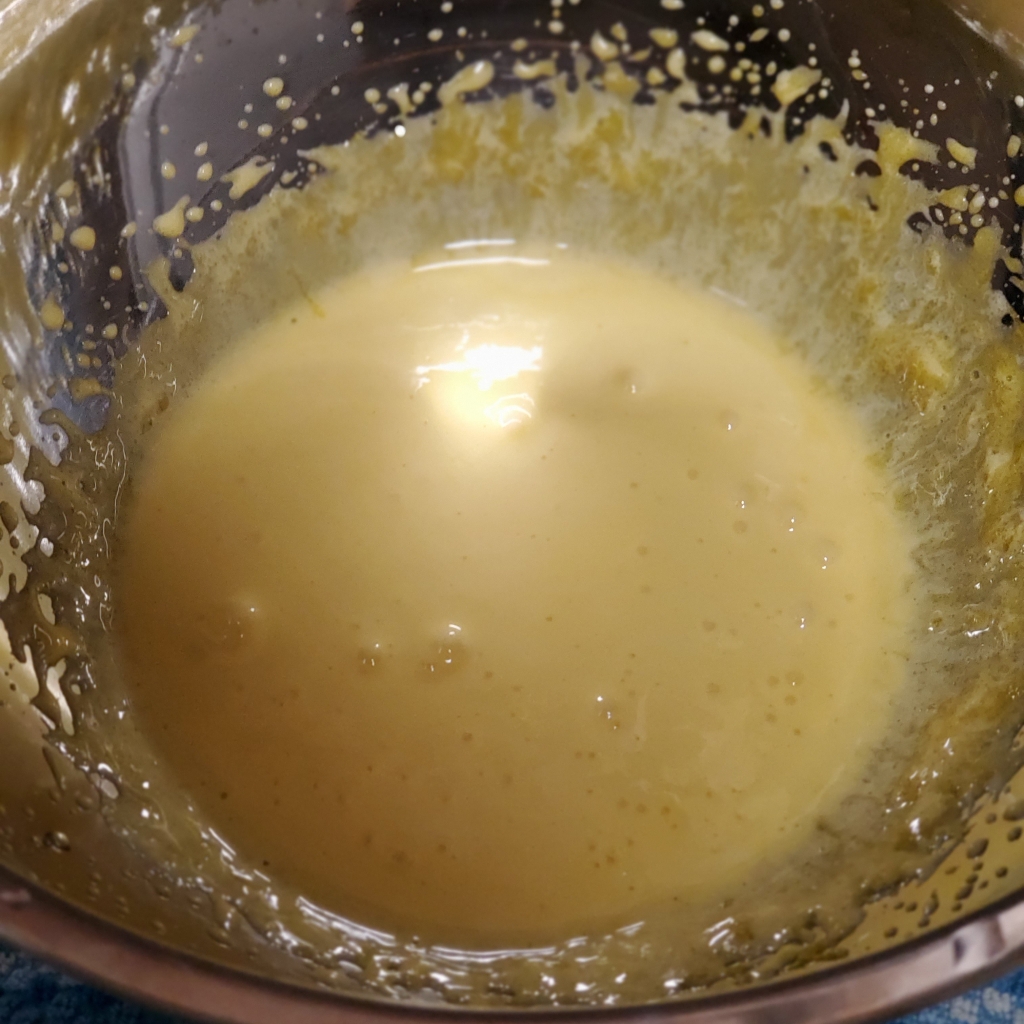
Beaten Egg Yolks and Sugar
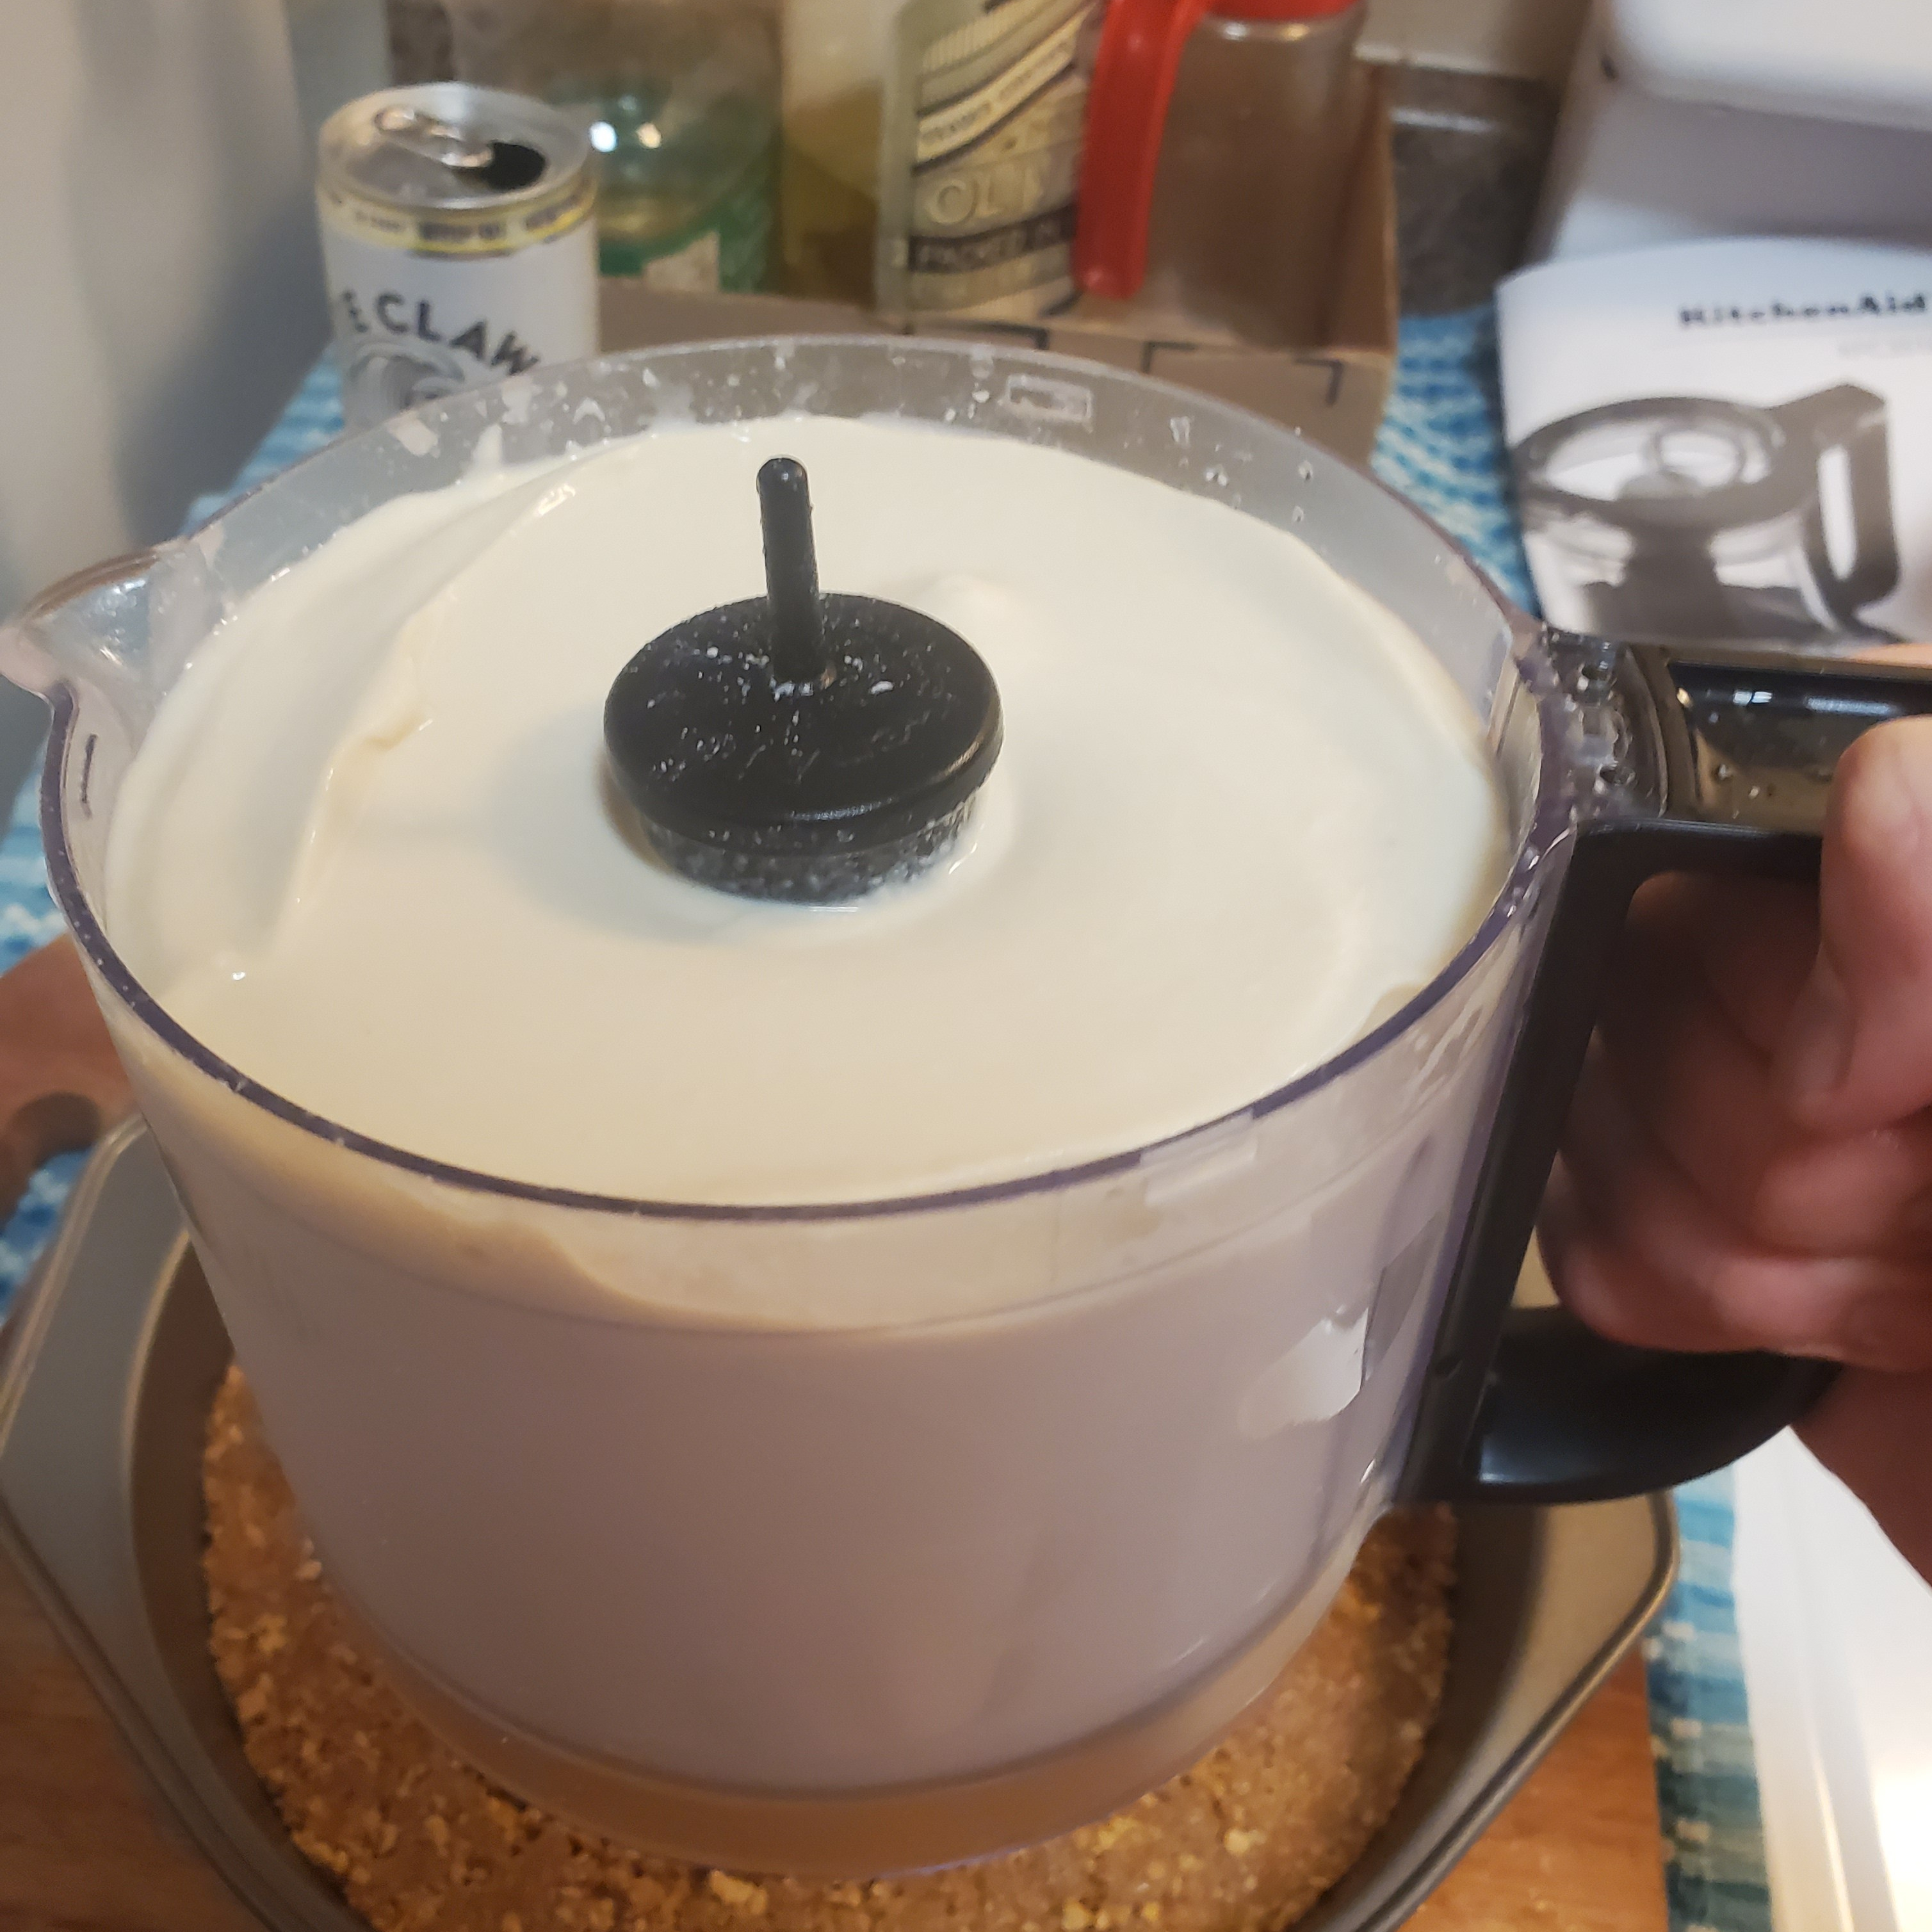
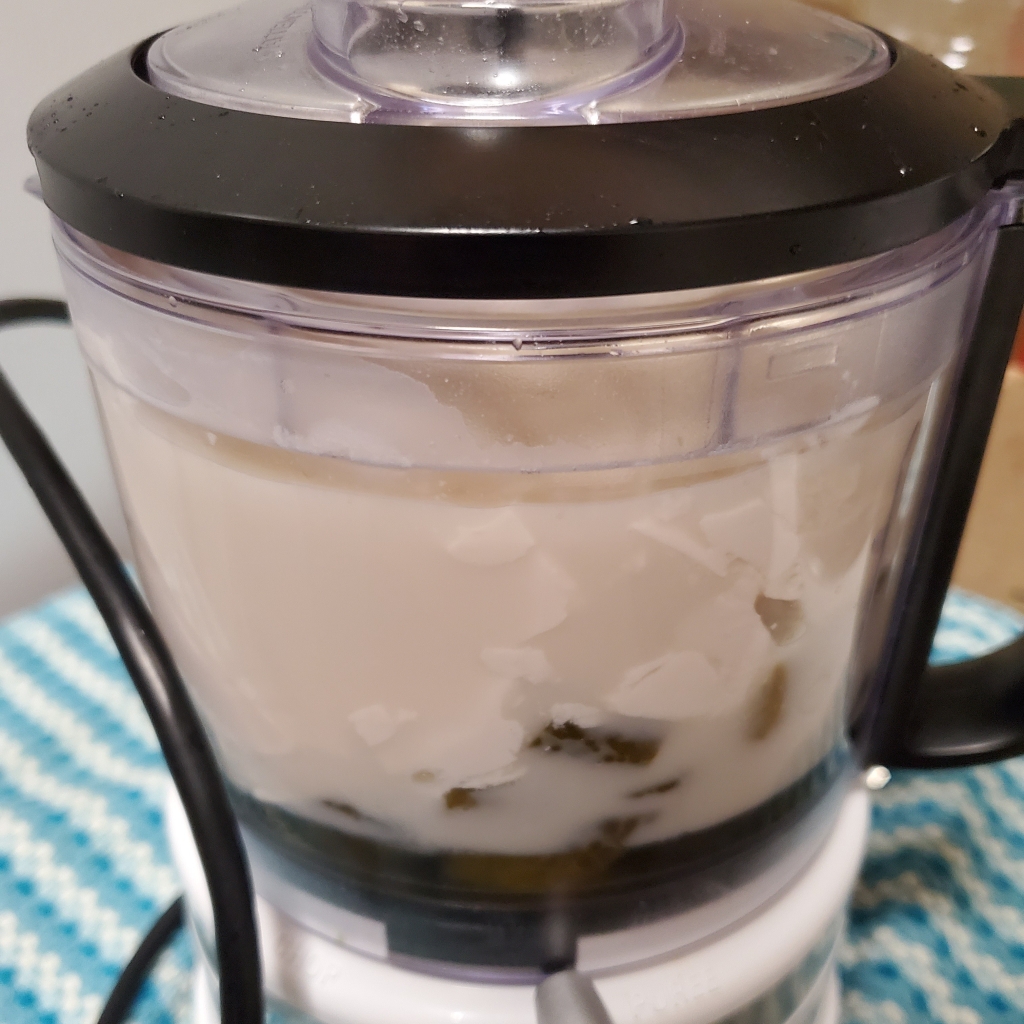
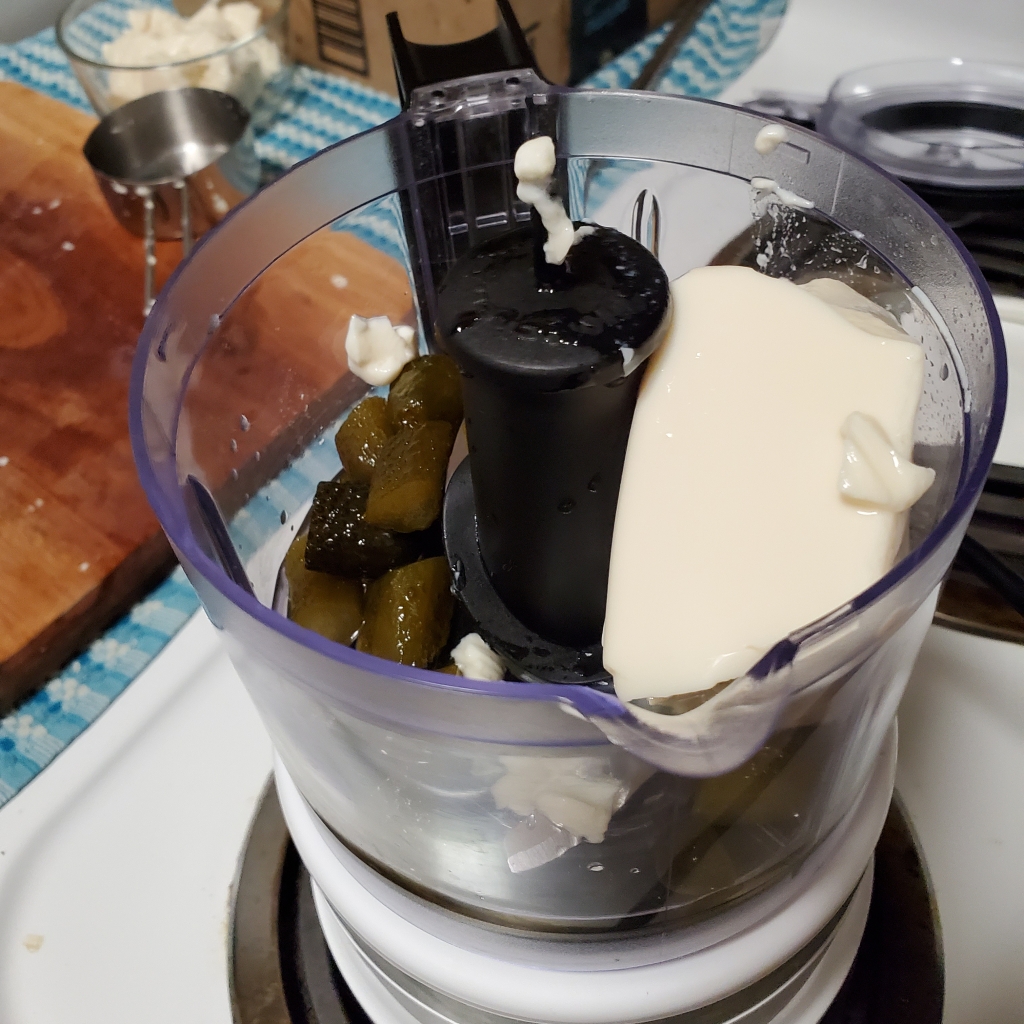
Chop pickles into small pieces and add to food processor. Add pickle juice, silken tofu and 1/2 cup of oat milk to the food processor. Puree the mixture until there are no visible pickle chunks.
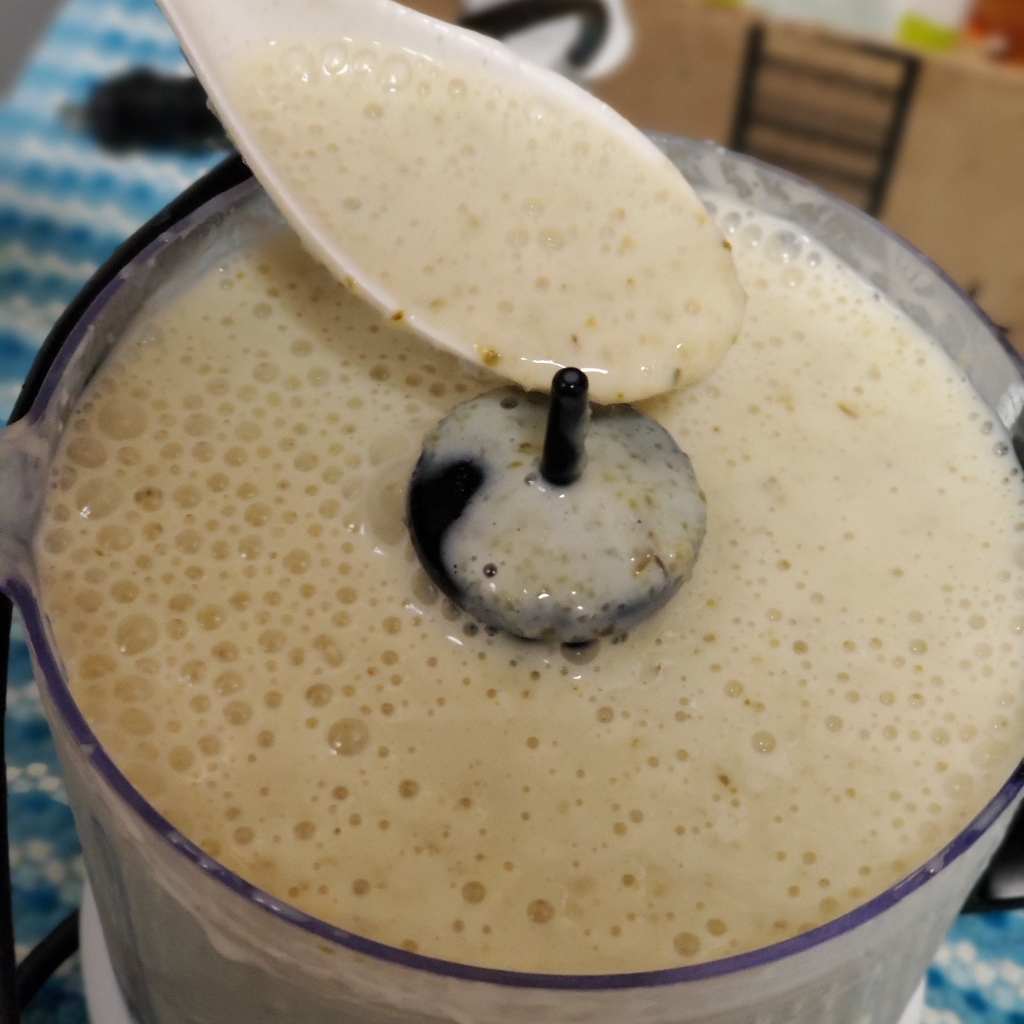

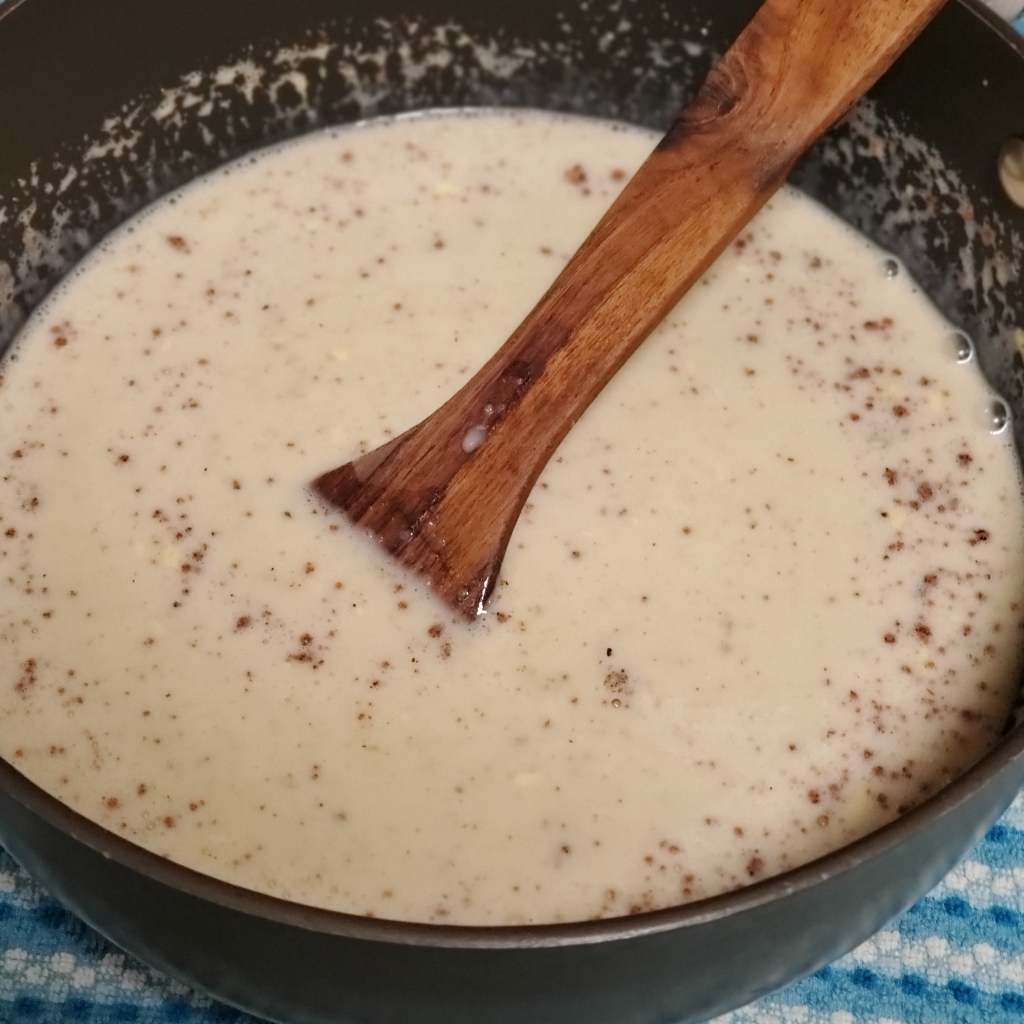
Combine and stir the pickle tofu mixture, 2 cups of oat milk, vanilla extract, nutmeg and beaten egg mixture.
Beat egg whites while gradually adding in 1 tablespoon of sugar. Continue beating until it forms stiff peaks. Whisk in the egg whites into the other mixture.
Beat Egg Whites 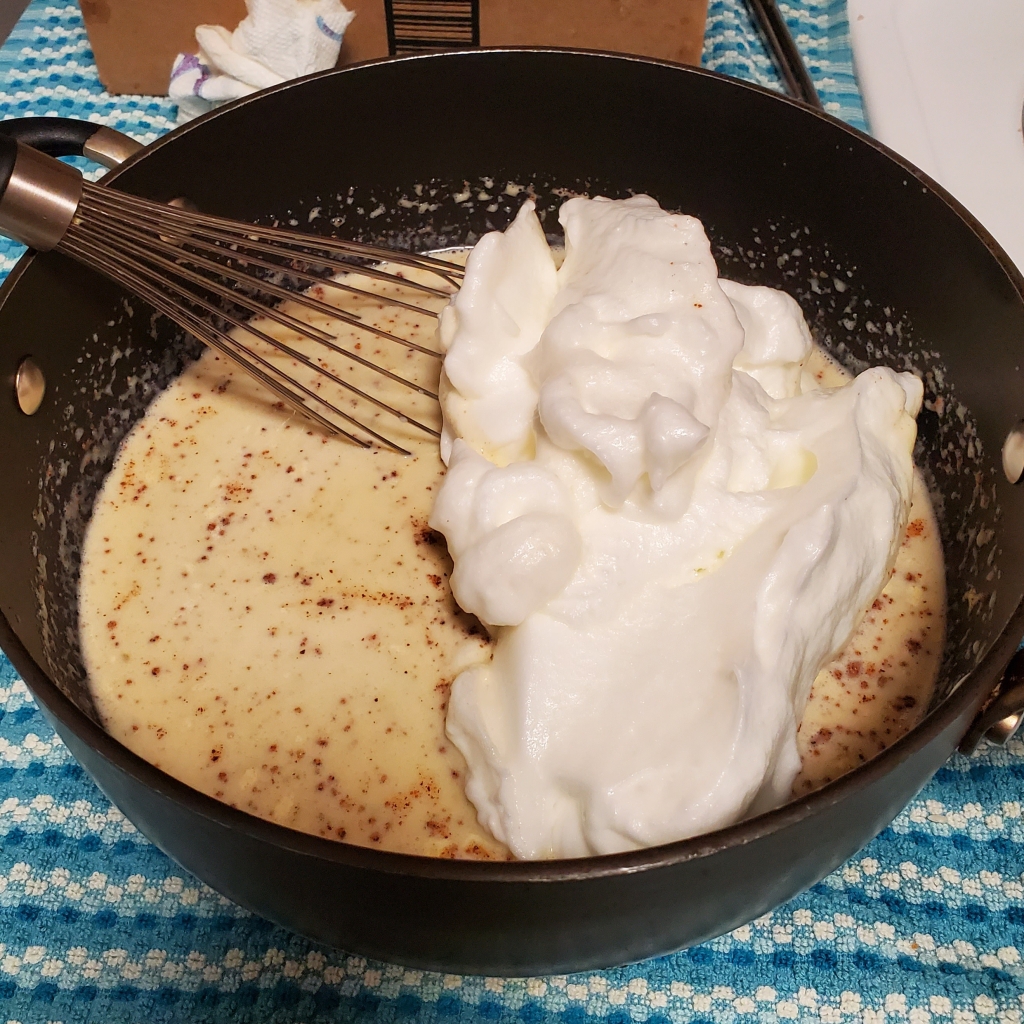
Whisk in Egg Whites
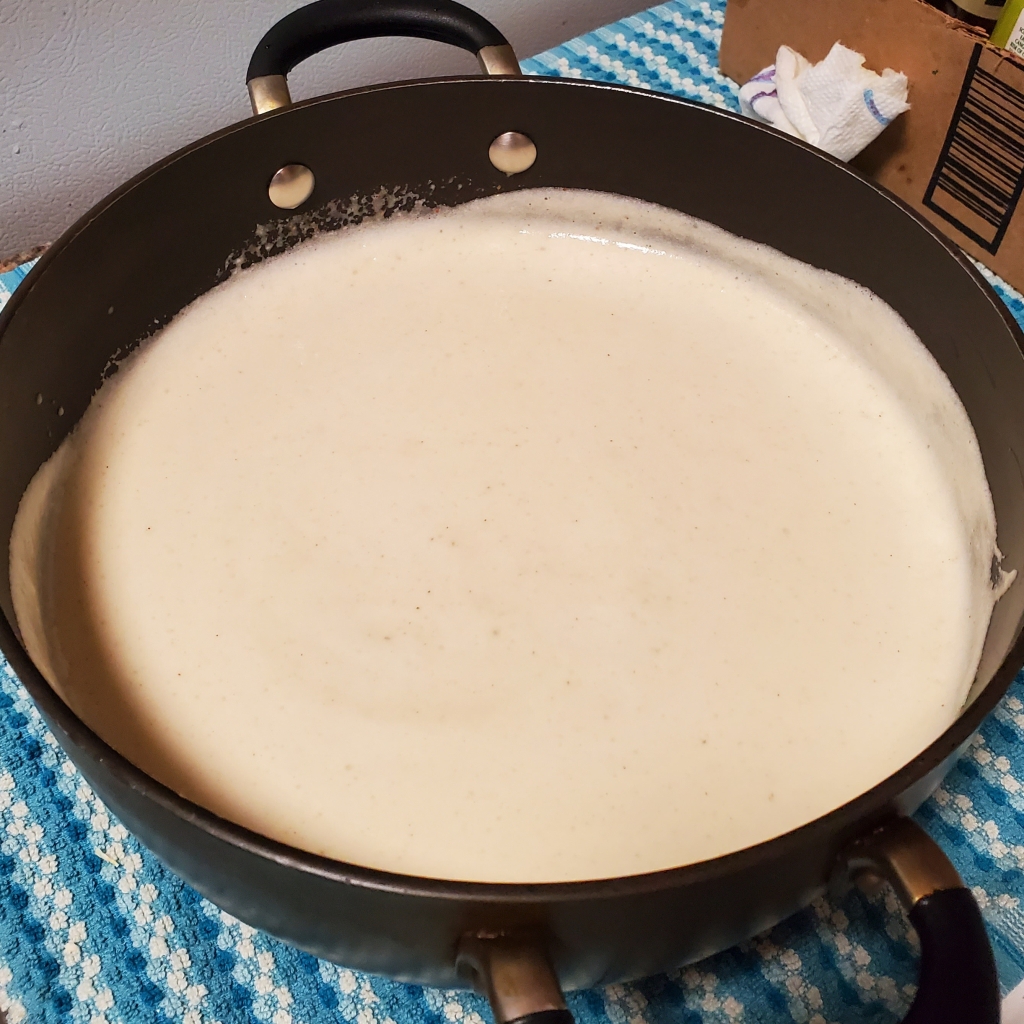
Chill the eggnog in the refrigerator for 30 minutes to an hour.
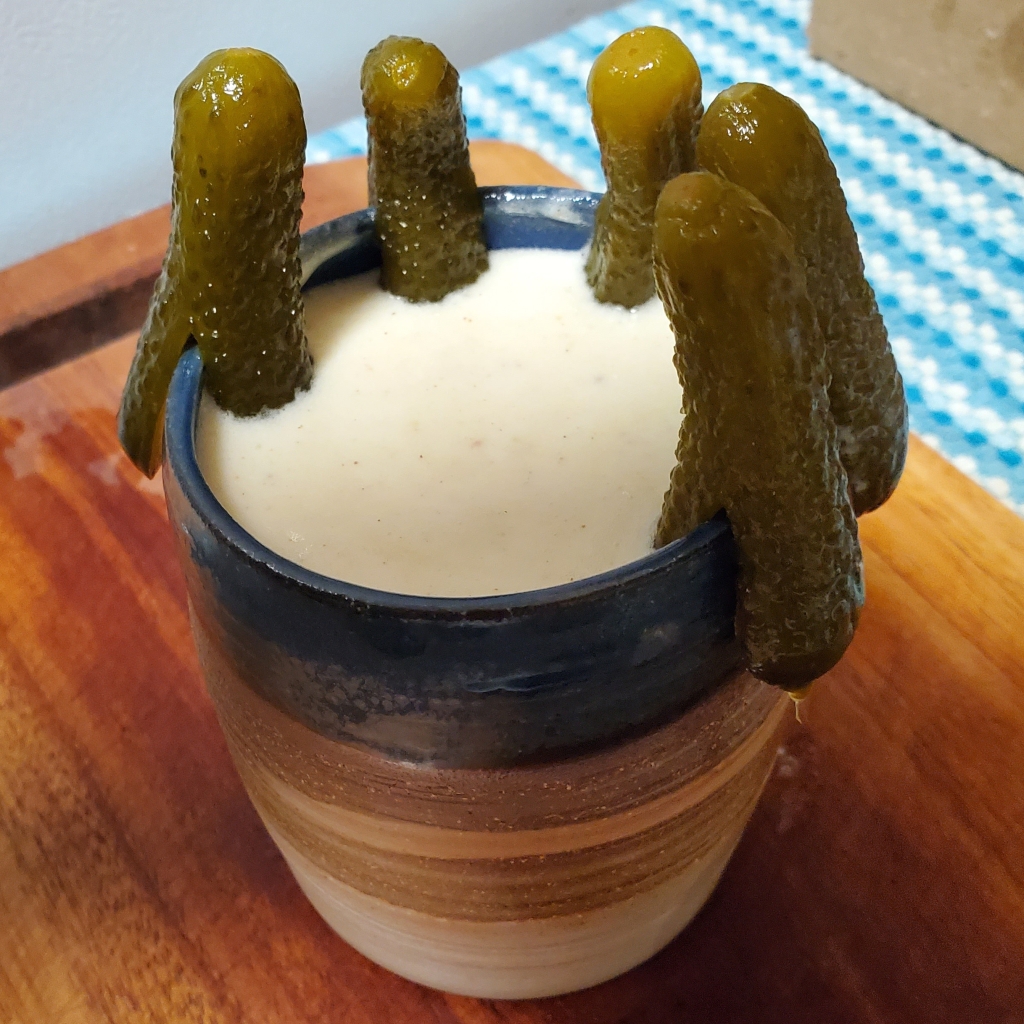
Serve with a selection of pickles.
The original eggnog recipe called for 1 cup of heavy cream. Silken tofu combined with milk works as a heavy cream substitute.
Sadly, you could not taste the pickles in the eggnog. It just tastes like regular eggnog. I have to rate this at 8/10 as it tastes perfectly normal and delicious. You definitely want to drink it all as soon as possible. The eggnog had separated the next day and was nowhere near as good!
One possible improvement is to remove the pickles. Their flavors did not come through in the eggnog and can likely be omitted from the recipe. I’m curious about adding cayenne pepper to the mixture and would like to try it next time.
I’ve only recently discovered the joys of pickles, so I want to incorporate them somehow in a recipe. At the same time, Christmas was coming up, so I wanted to do something Christmas themed. It made sense to do both at the same.